
How to Take Off a Tap Head: A Comprehensive Guide
Removing a tap head, also known as a faucet handle, might seem daunting, but it’s a common task in plumbing maintenance. Whether you’re dealing with a leaky faucet, replacing worn-out parts, or simply upgrading your fixtures, understanding how to take off a tap head is an essential skill for any homeowner. This comprehensive guide provides step-by-step instructions and essential tips to help you safely and efficiently remove a tap head without causing damage. We’ll cover various types of tap heads and the tools you’ll need, ensuring you’re well-prepared for the job.
Understanding Different Types of Tap Heads
Before diving into the removal process, it’s crucial to identify the type of tap head you’re working with. Different styles require slightly different approaches. Here are some common types:
- Compression Tap Heads: These often have a separate hot and cold tap. They usually feature a visible screw on the top or side.
- Ceramic Disc Tap Heads: These taps typically have a single lever that controls both temperature and flow. The lever is connected to a ceramic disc cartridge inside.
- Ball Tap Heads: Similar to ceramic disc taps, ball taps also use a single lever. However, they utilize a ball valve mechanism to control water flow.
- Mixer Tap Heads: These taps combine hot and cold water before dispensing it through a single spout. The handles can vary in style.
Essential Tools for Removing a Tap Head
Having the right tools on hand will make the job significantly easier and prevent potential damage. Here’s a list of essential tools:
- Adjustable Wrench: For loosening and tightening nuts and bolts.
- Screwdrivers (Flathead and Phillips): Depending on the type of screw used in your tap head.
- Allen Keys (Hex Wrenches): Some tap heads use Allen screws to secure the handle.
- Pliers: For gripping and holding small parts.
- Penetrating Oil: To loosen stubborn screws or nuts.
- Soft Cloth or Tape: To protect the finish of your tap head from scratches.
- Plunger: Useful for clearing debris in pipes after the tap head is removed.
- Basin Wrench (Optional): For reaching hard-to-access nuts under the sink.
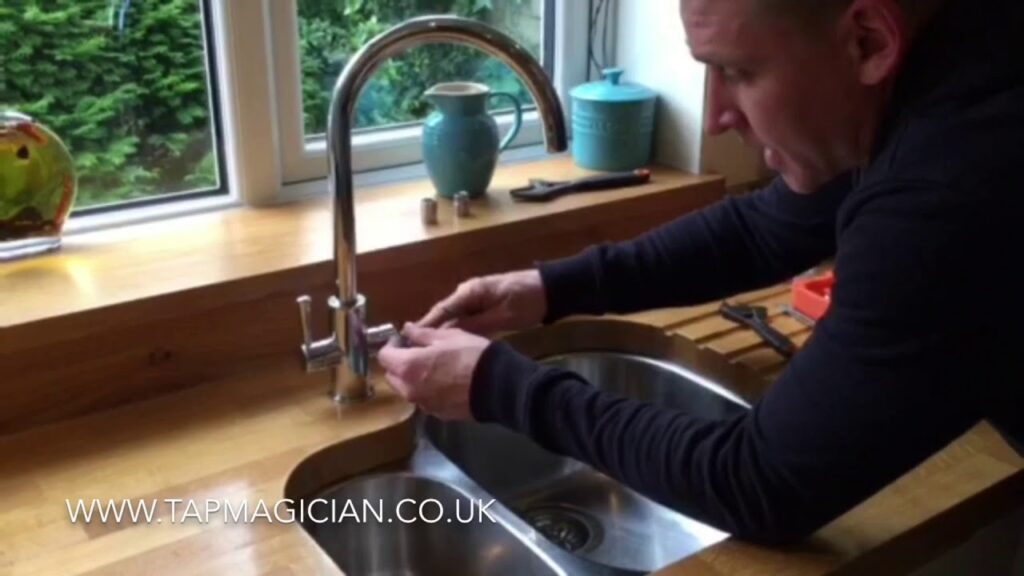
Step-by-Step Guide: How to Take Off a Tap Head
Follow these steps carefully to safely and effectively remove your tap head:
Step 1: Turn Off the Water Supply
This is the most crucial step! Locate the shut-off valves under your sink. There should be separate valves for hot and cold water. Turn both valves clockwise until they are completely closed. If you can’t find individual shut-off valves, you may need to turn off the main water supply to your house. Make sure everyone in the household is aware before doing so.
Step 2: Protect the Sink and Tap Head
Place a soft cloth or towel in the sink to protect it from scratches. Also, apply tape to the tap head itself to prevent damage from tools slipping. This simple precaution can save you from costly repairs.
Step 3: Locate and Remove the Screw
Examine the tap head for a screw. It may be located on the top, side, or back of the handle. Some tap heads have a decorative cap covering the screw. If so, gently pry off the cap using a small flathead screwdriver. Once you’ve located the screw, use the appropriate screwdriver (Phillips or flathead) or Allen key to loosen and remove it. Be careful not to strip the screw head.
Step 4: Loosen the Tap Head
After removing the screw, the tap head should be loose. If it’s stuck, try gently wiggling it back and forth. You can also apply a small amount of penetrating oil to help loosen any corrosion. Avoid using excessive force, as this could damage the tap or the surrounding plumbing.
Step 5: Remove the Tap Head
Once the tap head is loose, carefully pull it straight up and off the valve stem. If it’s still difficult to remove, double-check that you’ve removed all screws and that there are no hidden fasteners. A firm, steady pull should do the trick.
Step 6: Inspect the Valve Stem and Cartridge
With the tap head removed, you can now inspect the valve stem and cartridge for any signs of wear or damage. This is a good opportunity to replace any worn-out parts, such as O-rings or cartridges, to prevent future leaks. [See also: Replacing a Faucet Cartridge]
Step 7: Clean the Area
Before reassembling the tap, clean the area around the valve stem and the base of the tap head. Remove any debris or corrosion that may have accumulated. This will ensure a proper seal and prevent future problems.
Step 8: Reassemble the Tap
To reassemble the tap, simply reverse the removal process. Place the tap head back onto the valve stem, align the screw holes, and tighten the screw. Be careful not to overtighten the screw, as this could damage the tap head or the valve stem. Replace the decorative cap, if applicable.
Step 9: Test the Tap
After reassembling the tap, turn the water supply back on slowly. Check for any leaks around the base of the tap head and the valve stem. If you notice any leaks, turn off the water supply and tighten the connections further. [See also: Identifying and Fixing Leaky Faucets]
Troubleshooting Common Issues
Sometimes, removing a tap head can be more challenging than expected. Here are some common issues and how to resolve them:
- Stuck Screw: If the screw is stuck, try applying penetrating oil and letting it sit for a few minutes. You can also try using a screw extractor tool.
- Corroded Tap Head: If the tap head is corroded, soak it in vinegar or a rust remover solution for a few hours before attempting to remove it.
- Broken Tap Head: If the tap head is broken, you may need to replace the entire tap.
- Water Still Leaking: If water is still leaking after turning off the supply, there may be a problem with the shut-off valve itself. Consider replacing the valve.
Tips for Preventing Future Problems
Here are some tips to help prevent future problems with your taps:
- Regularly Clean Your Taps: Clean your taps regularly to remove any buildup of mineral deposits or soap scum.
- Avoid Overtightening: Avoid overtightening the tap handles, as this can damage the valve stem and cause leaks.
- Replace Worn-Out Parts: Replace worn-out parts, such as O-rings and cartridges, as soon as you notice any signs of wear.
- Use a Water Softener: If you have hard water, consider using a water softener to prevent mineral buildup in your taps.
When to Call a Professional Plumber
While removing a tap head is a relatively simple task, there are times when it’s best to call a professional plumber. If you’re not comfortable working with plumbing, or if you encounter any major problems, such as broken pipes or severe corrosion, it’s best to leave the job to the experts. A qualified plumber can quickly and efficiently diagnose and repair any plumbing issues, ensuring your home’s plumbing system is functioning properly. Knowing how to take off a tap head is useful, but understanding your limitations is even more important.
By following these steps and tips, you can confidently take off a tap head and perform basic plumbing maintenance. Remember to always prioritize safety and take your time to avoid damaging your fixtures. With a little patience and the right tools, you can keep your taps in good working order for years to come. Taking off a tap head can save you money and give you a sense of accomplishment. The process of how to take off a tap head is not just about removing a part; it’s about understanding your home’s plumbing system.
Understanding how to take off a tap head empowers you to address common plumbing issues. Regular maintenance, including knowing how to take off a tap head, prevents costly repairs. Remember, safety first when learning how to take off a tap head. The knowledge of how to take off a tap head contributes to overall home maintenance skills. Mastering how to take off a tap head is a practical skill for any homeowner. Don’t underestimate the value of knowing how to take off a tap head. By learning how to take off a tap head, you’re prepared for potential plumbing problems. The ability to take off a tap head can save time and money. Knowing the correct procedure to take off a tap head ensures a successful outcome. Learning how to take off a tap head is a valuable addition to your DIY skillset.
