
How to Remove Rust from Your Bike Chain: A Comprehensive Guide
Rust on your bike chain is not just an eyesore; it’s a performance killer. A rusty chain can lead to sluggish shifting, increased wear and tear on your drivetrain, and ultimately, a less enjoyable riding experience. But don’t despair! Removing rust from your bike chain is a manageable task that can be done at home with the right tools and techniques. This guide provides a detailed, step-by-step approach to restoring your chain to its former glory, ensuring smooth rides for miles to come.
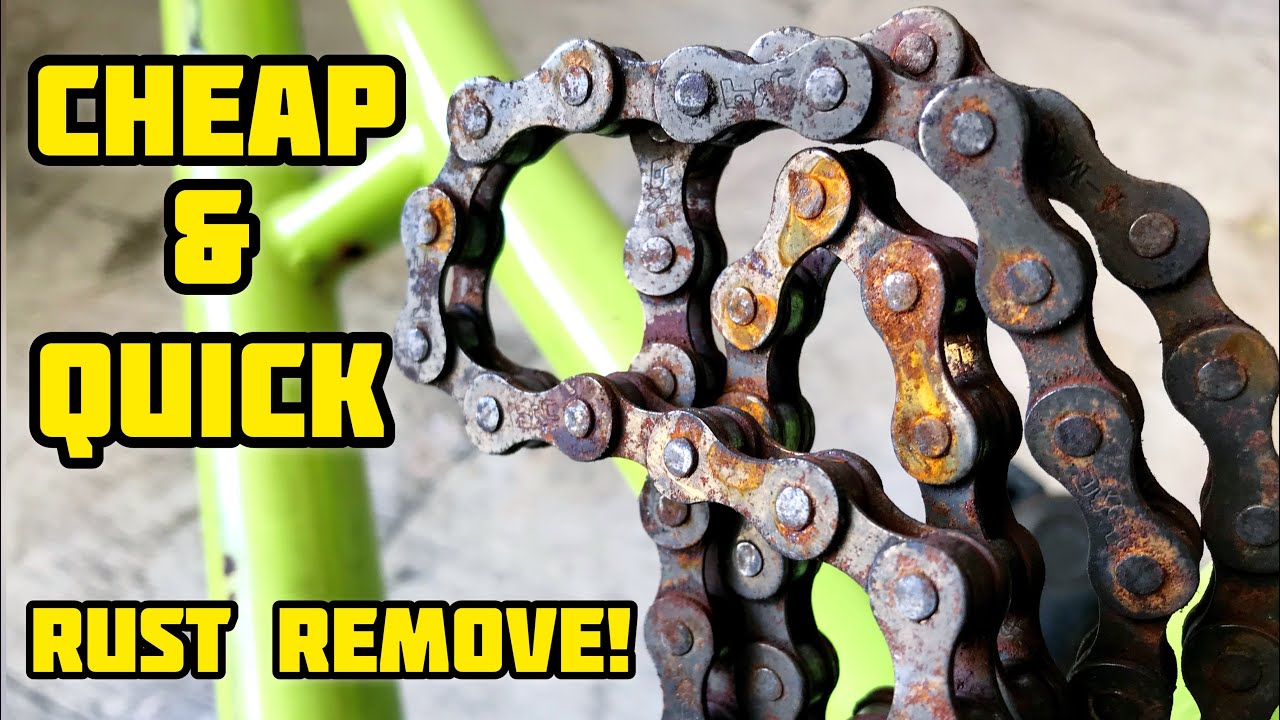
Why is Rust Bad for Your Bike Chain?
Before diving into the ‘how,’ let’s understand the ‘why.’ Rust, or iron oxide, forms when iron reacts with oxygen and moisture. This corrosive process weakens the metal, creating friction and reducing the chain’s flexibility. Ignoring rust can lead to:
- Poor Shifting: Rust can prevent the chain from smoothly transitioning between gears.
- Increased Wear: A rusty chain wears down your cassette, chainrings, and derailleurs faster.
- Chain Breakage: In severe cases, rust can compromise the chain’s structural integrity, leading to breakage.
- Reduced Efficiency: Friction from rust slows you down and makes pedaling harder.
Tools and Materials You’ll Need to Remove Rust
Gathering the necessary supplies beforehand will streamline the cleaning process. Here’s what you’ll need to effectively remove rust from your bike chain:
- Chain Breaker Tool: For removing the chain from the bike (optional, but recommended).
- Degreaser: A bike-specific degreaser is ideal, but mineral spirits or kerosene can also work.
- Rust Remover: Options include vinegar, citric acid, or commercial rust removal products.
- Chain Cleaning Tool (Optional): A specialized tool for cleaning chains on the bike.
- Brushes: A stiff-bristled brush, toothbrush, and small detailing brush.
- Rags or Paper Towels: For wiping and cleaning.
- Chain Lube: Essential for lubricating the chain after cleaning.
- Gloves: To protect your hands from chemicals and grime.
- Safety Glasses: To protect your eyes from splashes.
Step-by-Step Guide to Removing Rust from Your Bike Chain
Now, let’s get down to business. Follow these steps to effectively remove rust and restore your bike chain:
Step 1: Remove the Chain (Recommended)
Removing the chain from the bike makes cleaning much easier and more thorough. Use a chain breaker tool to separate the chain. If you don’t have a chain breaker, you can try cleaning the chain while it’s still on the bike, but it will be more challenging.
Step 2: Initial Cleaning with Degreaser
Whether the chain is removed or still on the bike, the first step is to remove as much grime and old lubricant as possible. If the chain is removed, soak it in a container of degreaser for about 15-20 minutes. Agitate the chain periodically to loosen the dirt. If the chain is on the bike, use a chain cleaning tool or a brush to apply degreaser to the chain, rotating the pedals to work the degreaser in. Rinse thoroughly with water.
Step 3: Rust Removal Methods
Now comes the rust removal process. Here are a few effective methods:
Vinegar Soak
Vinegar is a mild acid that can dissolve rust. Soak the chain in white vinegar for several hours, or even overnight. Check periodically and scrub with a brush to remove loosened rust. Rinse thoroughly with water after soaking. Vinegar is a great option to remove rust from your bike chain.
Citric Acid Soak
Citric acid is another effective rust remover. Dissolve citric acid powder in warm water (follow the instructions on the packaging). Soak the chain in the solution for several hours, checking and scrubbing periodically. Rinse thoroughly with water.
Commercial Rust Remover
Commercial rust removal products are specifically formulated to dissolve rust quickly. Follow the instructions on the product label. These products are often more potent than vinegar or citric acid, so use caution and wear appropriate protective gear.
Step 4: Scrubbing and Detailing
After soaking, use a stiff-bristled brush to scrub the chain thoroughly. Pay attention to the links and rollers, where rust tends to accumulate. A small detailing brush can be helpful for reaching tight spots. Rinse the chain again with water.
Step 5: Drying the Chain
Thoroughly dry the chain to prevent new rust from forming. Use a clean rag or paper towels to wipe the chain dry. You can also use a hairdryer or compressed air to speed up the drying process. Ensure the chain is completely dry before proceeding to the next step.
Step 6: Lubrication
Lubrication is crucial after cleaning. Apply a high-quality bike chain lubricant to each link, rotating the chain to distribute the lube evenly. Wipe off any excess lubricant to prevent dirt from sticking to the chain. Proper lubrication is essential to prevent rust and ensure smooth operation. The correct bike chain lube is key to keeping the rust away.
Step 7: Reinstalling the Chain (If Removed)
If you removed the chain, reinstall it using the chain breaker tool. Make sure the chain is properly connected and that the master link (if applicable) is securely fastened.
Preventing Rust in the Future
Prevention is always better than cure. Here are some tips to prevent rust from forming on your bike chain:
- Regular Cleaning and Lubrication: Clean and lubricate your chain regularly, especially after riding in wet or dirty conditions.
- Proper Storage: Store your bike in a dry place, away from moisture.
- Use a Chain Protectant: Consider using a chain protectant spray to create a barrier against moisture and rust.
- Wipe Down After Rides: Wipe down your chain with a clean rag after each ride to remove dirt and moisture.
When to Replace Your Bike Chain
Even with regular cleaning and maintenance, bike chains eventually wear out. If your chain is severely rusted, stretched, or damaged, it’s best to replace it. A chain checker tool can help you determine if your chain needs replacing. Replacing a worn chain can prevent damage to your cassette and chainrings, saving you money in the long run.
Troubleshooting Common Issues
Sometimes, even with the best efforts, rust can be stubborn. Here are some troubleshooting tips:
- Persistent Rust: If rust persists after soaking and scrubbing, try a stronger rust remover or repeat the soaking process.
- Stiff Links: If some links are still stiff after cleaning and lubrication, try gently flexing them back and forth to loosen them up.
- Chain Skips: If your chain skips after cleaning, it may be worn or improperly installed. Double-check the installation and consider replacing the chain if it’s worn.
Removing rust from your bike chain is an essential part of bike maintenance. By following these steps and tips, you can keep your chain clean, smooth, and rust-free, ensuring a more enjoyable and efficient riding experience. Regular maintenance and timely intervention are key to extending the life of your bike chain and drivetrain. Don’t let rust slow you down – take action and keep your bike running smoothly!
[See also: How to Clean Your Bike Cassette]
[See also: Best Bike Chain Lubricants]
[See also: Bike Maintenance Checklist]
