
Bathtub Silicone Remover: A Comprehensive Guide to Safe and Effective Removal
Silicone sealant is a common material used in bathrooms to create a waterproof barrier around bathtubs, showers, and sinks. While effective at preventing water damage, silicone can degrade over time, becoming discolored, cracked, or even moldy. When this happens, it’s necessary to remove the old silicone and apply a fresh bead. This article provides a comprehensive guide to using a bathtub silicone remover safely and effectively, ensuring a clean and professional finish.
Why Remove Old Silicone?
There are several reasons why you might need to remove silicone sealant from your bathtub:
- Appearance: Old silicone can become unsightly due to discoloration, staining, or mold growth.
- Leak Prevention: Cracked or damaged silicone can no longer effectively prevent water from seeping behind tiles or into walls, leading to water damage and mold growth.
- Preparation for Re-Sealing: Before applying new silicone, it’s essential to remove all traces of the old sealant to ensure proper adhesion and a watertight seal.
Tools and Materials Needed
Before you begin, gather the necessary tools and materials:
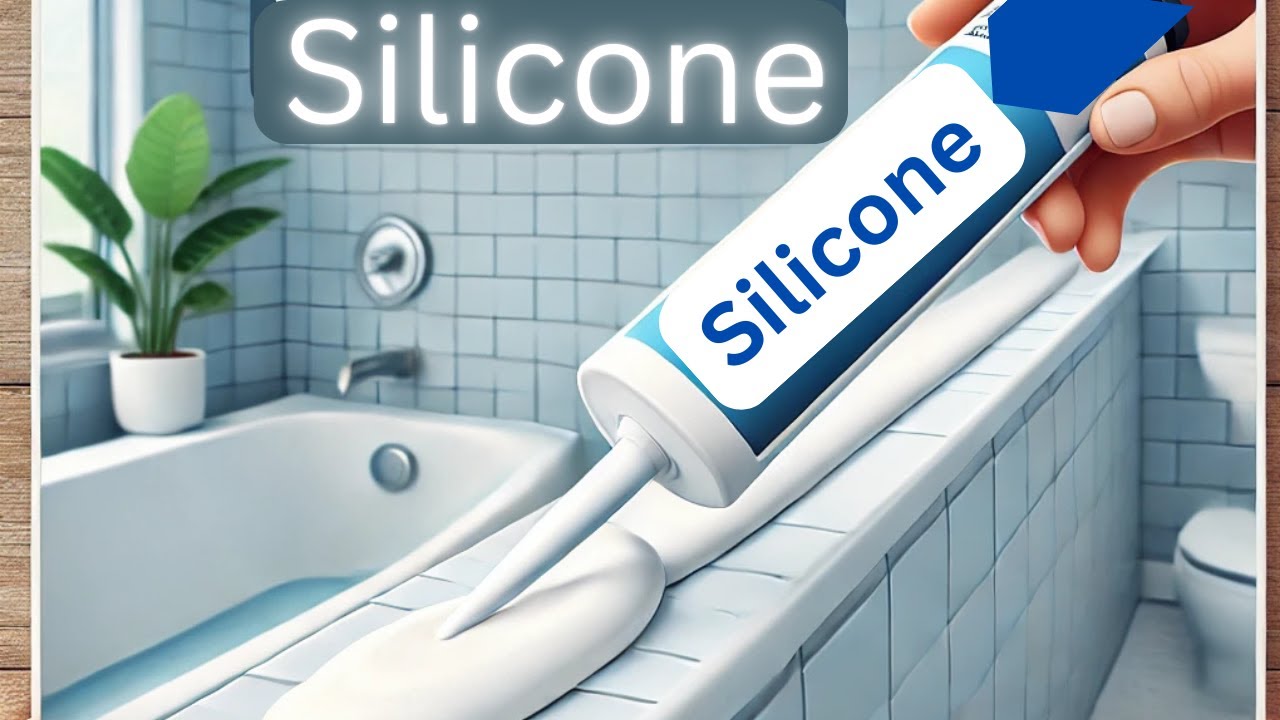
- Bathtub Silicone Remover: Choose a specialized silicone remover designed for bathroom use.
- Utility Knife or Razor Blade Scraper: For cutting and scraping away the bulk of the old silicone.
- Plastic Scraper: For removing stubborn residue without damaging the bathtub or tiles.
- Soft Cloths or Paper Towels: For cleaning and wiping surfaces.
- Spray Bottle with Water: To help soften the silicone and clean the area.
- Safety Glasses: To protect your eyes from debris.
- Gloves: To protect your hands from chemicals and sharp tools.
- Ventilation: Ensure adequate ventilation in the bathroom.
Step-by-Step Guide to Removing Bathtub Silicone
Step 1: Preparing the Area
Before you start, ensure the area is clean and dry. Remove any loose debris or dirt from the silicone sealant. Open windows or turn on the bathroom fan to provide adequate ventilation.
Step 2: Cutting the Silicone
Using a utility knife or razor blade scraper, carefully cut along the edges of the silicone bead. Angle the blade away from the bathtub and tiles to avoid scratching the surfaces. Make several shallow cuts rather than trying to remove large chunks at once. This will make the removal process easier and minimize the risk of damage.
Step 3: Applying the Bathtub Silicone Remover
Apply the bathtub silicone remover according to the manufacturer’s instructions. Generally, this involves applying a generous amount of the remover directly to the silicone bead. Allow the remover to sit for the recommended time, usually between 30 minutes and a few hours, depending on the product and the thickness of the silicone. The remover works by breaking down the silicone polymer, making it easier to remove.
Step 4: Scraping Away the Silicone
After the bathtub silicone remover has had time to work, use a plastic scraper to gently scrape away the softened silicone. Start at one end of the bead and work your way along, applying steady pressure. If the silicone is still difficult to remove, reapply the remover and let it sit for a longer period. Avoid using metal scrapers, as they can scratch the bathtub or tiles.
Step 5: Removing Stubborn Residue
Even after using a bathtub silicone remover and scraper, some stubborn residue may remain. To remove this, try using a clean cloth or paper towel dampened with the silicone remover. Gently rub the residue until it lifts off the surface. For particularly stubborn areas, you can also try using a specialized silicone removal tool or a stiff-bristled brush.
Step 6: Cleaning the Surface
Once all the silicone has been removed, thoroughly clean the surface with water and a mild detergent. This will remove any remaining residue from the bathtub silicone remover and ensure that the surface is clean and ready for new silicone sealant. Rinse the area well and allow it to dry completely before applying new silicone.
Choosing the Right Bathtub Silicone Remover
There are many different bathtub silicone removers available on the market, so it’s important to choose one that is suitable for your needs. Consider the following factors when making your selection:
- Type of Silicone: Some removers are specifically designed for certain types of silicone, such as acrylic or polyurethane. Make sure to choose a remover that is compatible with the type of silicone you are removing.
- Strength: Some removers are stronger than others. If you are removing a thick or stubborn layer of silicone, you may need to use a stronger remover.
- Safety: Always read the product label carefully and follow the manufacturer’s instructions. Wear appropriate safety gear, such as gloves and safety glasses, when using a bathtub silicone remover.
- Reviews: Check online reviews to see what other users have to say about the product’s effectiveness and ease of use.
Safety Precautions
When working with bathtub silicone remover and sharp tools, it’s crucial to prioritize safety:
- Ventilation: Always work in a well-ventilated area to avoid inhaling harmful fumes.
- Protective Gear: Wear safety glasses and gloves to protect your eyes and skin from chemicals and sharp objects.
- Read Instructions: Carefully read and follow the manufacturer’s instructions for the bathtub silicone remover.
- Sharp Tools: Use caution when handling utility knives and razor blades to avoid cuts.
- Disposal: Dispose of used silicone and cleaning materials properly, according to local regulations.
Alternative Methods for Removing Silicone
While a bathtub silicone remover is the most effective method, some alternative methods can be used for removing silicone, although they may not be as efficient:
- Heat Gun: Applying heat from a heat gun can soften the silicone, making it easier to scrape away. However, use caution to avoid damaging the bathtub or tiles.
- Vinegar: Soaking the silicone in vinegar can help to break it down, but this method is generally only effective for thin layers of silicone.
- WD-40: Spraying WD-40 on the silicone can help to loosen it, but this method may not be as effective as using a specialized remover.
Preventing Future Silicone Problems
To prevent future problems with silicone sealant, consider the following tips:
- Choose High-Quality Silicone: Use a high-quality silicone sealant that is specifically designed for bathroom use.
- Proper Application: Apply the silicone properly, ensuring a smooth and even bead.
- Regular Cleaning: Clean the silicone regularly to prevent the buildup of dirt, mold, and mildew.
- Ventilation: Ensure adequate ventilation in the bathroom to reduce moisture levels.
- Inspect Regularly: Inspect the silicone regularly for cracks or damage and repair or replace it as needed.
Conclusion
Removing old silicone from your bathtub is a necessary task for maintaining a clean and watertight bathroom. By following these steps and using a quality bathtub silicone remover, you can safely and effectively remove the old silicone and prepare the surface for a fresh application. Remember to prioritize safety and take your time to ensure a professional and long-lasting result. With the right tools and techniques, you can easily tackle this DIY project and keep your bathroom looking its best. [See also: How to Apply Silicone Caulk Like a Pro] Remember to choose the right bathtub silicone remover for the job and always follow the manufacturer’s instructions. The use of a proper bathtub silicone remover will significantly ease the process. Always ensure the area is well-ventilated when using a bathtub silicone remover. The effectiveness of a bathtub silicone remover relies heavily on the application and dwell time. Choose a bathtub silicone remover that is suitable for the type of silicone you are removing. A good bathtub silicone remover will save you time and effort. Don’t underestimate the importance of using a quality bathtub silicone remover. Regularly inspecting and maintaining your silicone can prevent the need for frequent bathtub silicone remover applications. Investing in a reliable bathtub silicone remover is a wise choice for homeowners. Using the correct bathtub silicone remover can also prevent damage to your bathtub and tiles. When using a bathtub silicone remover, always wear protective gear. A bathtub silicone remover is an essential tool for any DIY enthusiast. Always thoroughly clean the area after using a bathtub silicone remover.
