Can You Clean Ignition Coils? A Comprehensive Guide
The ignition coils in your vehicle are critical components responsible for providing the high-voltage spark needed to ignite the air-fuel mixture in the engine’s cylinders. Over time, these coils can accumulate dirt, grime, and corrosion, leading to performance issues. A common question arises: Can you clean ignition coils? The short answer is yes, but it’s essential to understand when and how to do it properly to avoid causing damage. This guide will walk you through the process, benefits, and potential pitfalls of cleaning ignition coils, ensuring you maintain your vehicle’s optimal performance.
Understanding Ignition Coils and Their Importance
Ignition coils transform the low voltage from your car’s battery into the thousands of volts required to create an electrical spark at the spark plugs. This spark ignites the air-fuel mixture, starting the combustion process that powers your engine. A faulty or dirty ignition coil can lead to misfires, reduced fuel efficiency, and overall poor engine performance. Regularly inspecting and, when necessary, cleaning your ignition coils can help prevent these issues.
Signs of a Dirty or Failing Ignition Coil
- Engine Misfires: One of the most common symptoms. You might feel a jerking or stuttering sensation, especially during acceleration.
- Reduced Fuel Efficiency: A failing coil can cause incomplete combustion, wasting fuel.
- Rough Idling: The engine may vibrate or run unevenly when idling.
- Check Engine Light: The diagnostic system may trigger the check engine light, often accompanied by error codes related to misfires.
- Difficulty Starting: In severe cases, a faulty coil can prevent the engine from starting altogether.
The Process of Cleaning Ignition Coils
Cleaning ignition coils is a relatively straightforward process, but it requires care and attention to detail. Here’s a step-by-step guide:
Step 1: Gather Your Supplies
Before you begin, ensure you have the necessary tools and materials:
- Socket Set and Wrench: To remove the ignition coils.
- Clean Rags or Microfiber Cloths: For wiping down the coils.
- Electrical Contact Cleaner: Specifically designed for cleaning electrical components.
- Small Brush (Optional): A soft-bristled brush can help remove stubborn dirt.
- Gloves: To protect your hands from chemicals and grime.
Step 2: Disconnect the Battery
Safety first! Disconnect the negative terminal of your car’s battery to prevent any electrical accidents during the cleaning process. This is a crucial step to avoid short circuits or electrical shocks.
Step 3: Locate and Remove the Ignition Coils
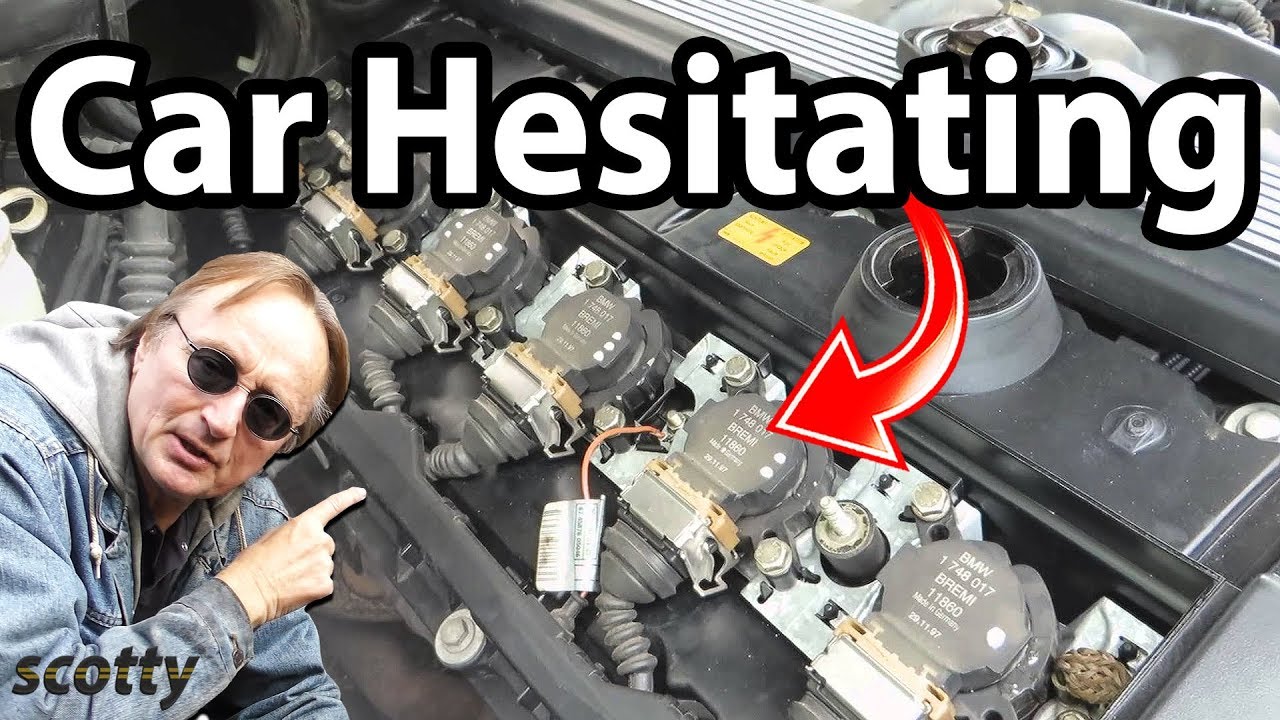
Refer to your vehicle’s service manual to locate the ignition coils. They are typically located on top of or near the engine’s cylinders. Carefully disconnect the electrical connectors from each coil. Use the socket set or wrench to remove the bolts or fasteners securing the coils. Gently pull the coils out of their housings. Keep track of the order in which you remove them to ensure you reinstall them correctly.
Step 4: Inspect the Ignition Coils
Before cleaning, inspect each coil for signs of damage, such as cracks, burns, or corrosion. If a coil is severely damaged, it’s best to replace it rather than attempting to clean it. Cleaning a damaged coil may not restore its functionality and could potentially worsen the problem. If the coil looks physically sound, proceed with cleaning.
Step 5: Clean the Ignition Coils
Using the electrical contact cleaner, spray the coil’s exterior, paying particular attention to the terminals and any areas with visible dirt or corrosion. Allow the cleaner to sit for a few minutes to dissolve the grime. Use a clean rag or microfiber cloth to wipe away the cleaner and any dislodged dirt. If necessary, use a soft-bristled brush to gently scrub away stubborn deposits. Be careful not to damage the coil’s surface during this process.
Step 6: Allow the Coils to Dry
After cleaning, allow the ignition coils to air dry completely before reinstalling them. This is important to prevent any moisture from interfering with their operation. You can use compressed air to speed up the drying process, but ensure the air pressure is not too high, as it could damage the coils.
Step 7: Reinstall the Ignition Coils
Once the coils are dry, reinstall them in the reverse order of removal. Ensure each coil is securely fastened and that the electrical connectors are properly reattached. Double-check your work to avoid any loose connections.
Step 8: Reconnect the Battery
Reconnect the negative terminal of your car’s battery. Start the engine and listen for any signs of misfires or other issues. If the engine runs smoothly, you have successfully cleaned your ignition coils. If problems persist, further diagnosis may be necessary.
When Cleaning Isn’t Enough: Knowing When to Replace Ignition Coils
While cleaning can often restore the performance of slightly dirty ignition coils, there are situations where replacement is the only viable option. Consider replacing your ignition coils if:
- The Coils Are Physically Damaged: Cracks, burns, or severe corrosion indicate internal damage that cleaning cannot fix.
- Cleaning Doesn’t Resolve the Issue: If misfires and other symptoms persist after cleaning, the coils may be failing internally.
- High Mileage: Ignition coils have a limited lifespan. If your vehicle has high mileage, it’s often prudent to replace the coils as part of routine maintenance.
Benefits of Cleaning or Replacing Ignition Coils
Maintaining your ignition coils, whether through cleaning or replacement, offers several benefits:
- Improved Engine Performance: Clean and properly functioning coils ensure efficient combustion, leading to smoother acceleration and overall better performance.
- Increased Fuel Efficiency: Efficient combustion reduces fuel consumption, saving you money at the pump.
- Reduced Emissions: Proper combustion minimizes harmful emissions, contributing to a cleaner environment.
- Prevention of Costly Repairs: Addressing ignition coil issues promptly can prevent damage to other engine components, such as the catalytic converter.
Choosing the Right Electrical Contact Cleaner
When selecting an electrical contact cleaner, look for products specifically designed for automotive electrical components. These cleaners are formulated to dissolve dirt, grease, and corrosion without damaging sensitive electronics. Avoid using general-purpose cleaners, as they may contain chemicals that can harm the coils. Always follow the manufacturer’s instructions when using electrical contact cleaner.
Alternative Cleaning Methods
While electrical contact cleaner is the preferred method for cleaning ignition coils, some people explore alternative methods. However, caution is advised. Using harsh chemicals or abrasive cleaners can damage the coils and void any warranties. Stick to approved electrical contact cleaners for the best and safest results. One should avoid using water or any water-based solutions to clean ignition coils, as moisture can damage the coils and cause them to fail.
Preventative Maintenance Tips
To prolong the life of your ignition coils and prevent future issues, consider the following preventative maintenance tips:
- Regular Inspections: Periodically inspect your ignition coils for signs of damage or corrosion.
- Proper Spark Plug Maintenance: Ensure your spark plugs are in good condition and properly gapped. Worn or improperly gapped spark plugs can put extra strain on the ignition coils.
- Keep the Engine Bay Clean: Regularly clean the engine bay to prevent dirt and grime from accumulating on the coils.
- Follow Recommended Maintenance Schedules: Adhere to your vehicle manufacturer’s recommended maintenance schedule for ignition coils and other related components.
Diagnosing Ignition Coil Problems
If you suspect your ignition coils are causing problems, it’s essential to diagnose the issue accurately. A mechanic can use specialized diagnostic tools to test the coils and identify any faults. These tools can measure the coil’s resistance, voltage output, and other parameters to determine if it’s functioning correctly. [See also: How to Test Ignition Coils with a Multimeter] Understanding how to diagnose these issues can save you time and money in the long run.
The Role of Spark Plugs
Spark plugs and ignition coils work together to create the combustion needed to power your engine. When your spark plugs are worn or damaged, they can cause the ignition coils to work harder, leading to premature failure. It’s important to replace your spark plugs according to the manufacturer’s recommended schedule to ensure optimal performance and longevity of your ignition coils. Using the correct type of spark plugs for your vehicle is also crucial. [See also: Choosing the Right Spark Plugs for Your Car]
Common Mistakes to Avoid
When cleaning or replacing ignition coils, avoid these common mistakes:
- Using the Wrong Cleaner: As mentioned earlier, always use an electrical contact cleaner specifically designed for automotive components.
- Over-Tightening Fasteners: When reinstalling the coils, avoid over-tightening the bolts or fasteners, as this can damage the coils or their housings.
- Neglecting Spark Plugs: Don’t neglect the spark plugs. Replace them as needed to prevent strain on the ignition coils.
- Ignoring Warning Signs: Pay attention to any warning signs of ignition coil problems, such as misfires or reduced fuel efficiency. Addressing these issues promptly can prevent more significant damage.
Conclusion
Can you clean ignition coils? Yes, cleaning ignition coils can be a beneficial maintenance practice, helping to restore performance and prevent issues. However, it’s crucial to follow the proper procedures, use the right products, and know when replacement is necessary. By understanding the importance of ignition coils, recognizing the signs of problems, and performing regular maintenance, you can ensure your vehicle runs smoothly and efficiently for years to come. Remember to always prioritize safety and consult with a qualified mechanic if you’re unsure about any aspect of the cleaning or replacement process.

