Cleaning Your Motorcycle Carburetor: A Comprehensive Guide
A well-maintained motorcycle offers a unique sense of freedom and adventure. However, like any machine, motorcycles require regular upkeep to ensure optimal performance. One crucial aspect of motorcycle maintenance is cleaning the carburetor. The carburetor is responsible for mixing air and fuel in the correct proportions to create a combustible mixture that powers your engine. Over time, the carburetor can become clogged with dirt, varnish, and other contaminants, leading to poor performance, rough idling, and even starting problems. This comprehensive guide will walk you through the process of cleaning your motorcycle carburetor effectively and safely.
Why Cleaning Your Motorcycle Carburetor is Essential
Understanding the importance of a clean carburetor is the first step in appreciating the value of this maintenance task. A dirty carburetor can lead to a variety of issues, including:
- Poor Fuel Economy: A clogged carburetor can disrupt the air-fuel mixture, causing the engine to run rich (too much fuel) or lean (not enough fuel). This inefficiency translates to reduced fuel economy.
- Rough Idling: Deposits in the carburetor can interfere with the smooth flow of air and fuel at idle, resulting in a rough or unstable idle.
- Starting Problems: A severely clogged carburetor can prevent the engine from starting altogether.
- Reduced Performance: A dirty carburetor restricts the engine’s ability to breathe properly, leading to a noticeable decrease in power and acceleration.
- Engine Damage: In extreme cases, a poorly functioning carburetor can cause engine damage due to improper combustion.
Regular cleaning your motorcycle carburetor is a proactive measure that can prevent these problems and ensure your motorcycle runs smoothly and efficiently. It’s a relatively simple task that can save you time and money in the long run.
Tools and Materials Needed for Cleaning
Before you begin, gather the necessary tools and materials. Having everything on hand will make the process smoother and more efficient:
- Socket Set and Wrenches: For removing the carburetor from the motorcycle.
- Screwdrivers: Both flathead and Phillips head screwdrivers of various sizes.
- Carburetor Cleaner: A specialized solvent designed to dissolve varnish and deposits.
- Compressed Air: For blowing out passages and jets.
- Small Brushes: A set of small brushes, such as carburetor cleaning brushes or old toothbrushes, for scrubbing.
- Soft Cloths or Rags: For wiping down parts.
- Parts Tray: To keep small parts organized.
- Safety Glasses: To protect your eyes from carburetor cleaner and debris.
- Gloves: To protect your hands from chemicals.
- Service Manual (Optional but Recommended): Provides specific instructions for your motorcycle model.
- Carburetor Rebuild Kit (Optional): If you suspect worn or damaged parts.
Step-by-Step Guide to Cleaning Your Motorcycle Carburetor
Follow these steps carefully to ensure a thorough and effective cleaning your motorcycle carburetor:
Step 1: Disconnect the Carburetor
Begin by disconnecting the carburetor from the motorcycle. This usually involves the following steps:
- Turn off the fuel supply valve.
- Disconnect the fuel line from the carburetor.
- Disconnect the throttle cables.
- Disconnect any other cables or hoses attached to the carburetor, such as choke cables or vacuum lines.
- Loosen the clamps holding the carburetor to the intake manifold and airbox.
- Carefully remove the carburetor from the motorcycle.
Take pictures as you disassemble to aid in reassembly. Note the position of all hoses and cables.
Step 2: Disassemble the Carburetor
With the carburetor removed, carefully disassemble it. This typically involves removing the following components:
- Float bowl
- Float and float needle
- Main jet
- Pilot jet
- Needle jet
- Idle mixture screw
- Throttle slide or butterfly valve
Place all the small parts in a parts tray to prevent them from getting lost. Again, take pictures as you disassemble to assist with reassembly. Pay close attention to the order and orientation of each component.
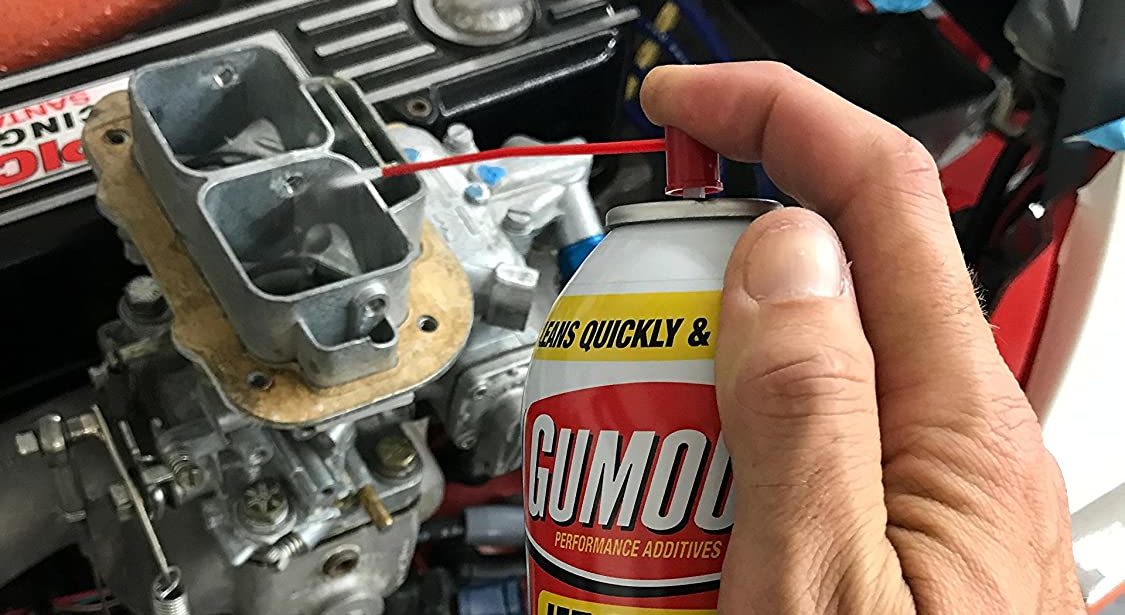
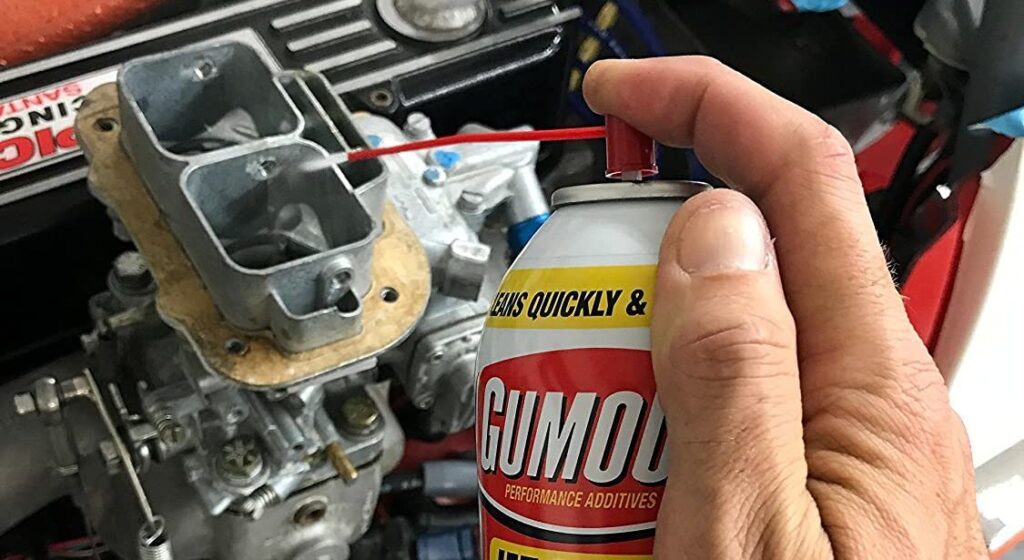
Step 3: Clean the Carburetor Components
Now it’s time to cleaning your motorcycle carburetor components. Use carburetor cleaner to thoroughly clean each part. Spray the cleaner onto the parts and use small brushes to scrub away any dirt, varnish, or deposits. Pay particular attention to the jets, as these are prone to clogging. Use compressed air to blow out all passages and orifices to ensure they are clear.
Important: Do not use wire or other sharp objects to clean the jets, as this can damage them. Only use carburetor cleaner and compressed air.
Step 4: Inspect the Carburetor Components
After cleaning, carefully inspect all the carburetor components for wear or damage. Check the float needle for wear on the tip, the float for leaks, and the jets for damage or obstruction. If you find any worn or damaged parts, replace them with new ones. A carburetor rebuild kit can be a convenient way to replace multiple parts at once.
Step 5: Reassemble the Carburetor
Once you’ve cleaned and inspected all the components, reassemble the carburetor. Refer to the pictures you took during disassembly to ensure you put everything back in the correct order and orientation. Tighten all screws and bolts to the proper torque specifications.
Step 6: Reinstall the Carburetor
Reinstall the carburetor onto the motorcycle. This is essentially the reverse of the disassembly process:
- Attach the carburetor to the intake manifold and airbox, securing it with the clamps.
- Reconnect the throttle cables.
- Reconnect the fuel line.
- Reconnect any other cables or hoses that were disconnected.
- Turn on the fuel supply valve.
Double-check all connections to ensure they are secure.
Step 7: Adjust the Carburetor
After reinstalling the carburetor, you may need to adjust the idle mixture screw to achieve the proper idle speed. Consult your motorcycle’s service manual for the recommended idle speed and adjustment procedure. [See also: Motorcycle Carburetor Adjustment Guide]
Tips for Maintaining a Clean Carburetor
Once you’ve cleaning your motorcycle carburetor, there are several things you can do to help keep it clean and prevent future problems:
- Use Fuel Stabilizer: Add fuel stabilizer to the fuel tank, especially if you plan to store the motorcycle for an extended period. Fuel stabilizer prevents the fuel from breaking down and forming varnish, which can clog the carburetor.
- Use High-Quality Fuel: Using high-quality fuel can help reduce the buildup of deposits in the carburetor.
- Regularly Inspect and Clean Your Air Filter: A clean air filter prevents dirt and debris from entering the carburetor.
- Run the Engine Regularly: Running the engine regularly helps keep the fuel flowing through the carburetor and prevents it from drying out and forming deposits.
- Consider an Inline Fuel Filter: Adding an inline fuel filter can help catch debris before it reaches the carburetor.
Troubleshooting Common Carburetor Problems
Even after cleaning your motorcycle carburetor, you may still experience some problems. Here are some common issues and potential solutions:
- Engine Still Won’t Start: Check the fuel supply, spark plugs, and ignition system.
- Rough Idling Persists: Re-adjust the idle mixture screw. Check for vacuum leaks.
- Poor Performance Continues: Double-check the jets for clogs. Ensure the air filter is clean.
- Fuel Leaks: Inspect the float bowl gasket and fuel lines for damage.
If you are unable to resolve the problem yourself, consult a qualified motorcycle mechanic.
When to Seek Professional Help
While cleaning your motorcycle carburetor is a task that many motorcycle owners can perform themselves, there are times when it’s best to seek professional help. If you are not comfortable working on your motorcycle, or if you are unable to diagnose and resolve the problem yourself, take your motorcycle to a qualified mechanic. A professional mechanic has the experience and tools necessary to properly diagnose and repair carburetor problems. [See also: Finding a Reliable Motorcycle Mechanic]
Conclusion
Cleaning your motorcycle carburetor is a crucial aspect of motorcycle maintenance. By following the steps outlined in this guide, you can effectively clean your carburetor and ensure your motorcycle runs smoothly and efficiently. Remember to take your time, be careful, and consult your motorcycle’s service manual for specific instructions. Regular maintenance, including cleaning the carburetor, will extend the life of your motorcycle and provide you with years of enjoyable riding. Don’t underestimate the importance of this task, and enjoy the improved performance that comes with a clean and properly functioning carburetor. A well-maintained motorcycle is a happy motorcycle, and a happy motorcycle means a happy rider. So, get out there, cleaning your motorcycle carburetor, and enjoy the ride!
