
How to Preserve Pumpkins Until Halloween: A Comprehensive Guide
Halloween is just around the corner, and for many, that means carving pumpkins! But what’s the best way to ensure your jack-o’-lantern lasts until the big night? Preserving pumpkins until Halloween requires some planning and effort, but it’s definitely achievable. This comprehensive guide will provide you with all the necessary information and techniques to keep your pumpkins looking their best for as long as possible. From selecting the right pumpkin to employing various preservation methods, we’ll cover everything you need to know to avoid a prematurely decaying gourd. Learn about the best practices for preserving pumpkins until Halloween.
Choosing the Right Pumpkin for Longevity
The first step in preserving pumpkins until Halloween is selecting a healthy, robust pumpkin. Look for pumpkins that are:
- Mature and Firm: Choose pumpkins with a hard rind and a deep, consistent color. Avoid pumpkins that feel soft or have blemishes.
- Free from Bruises or Cuts: Even small imperfections can lead to rot. Inspect the pumpkin carefully for any signs of damage.
- With a Strong Stem: The stem should be firmly attached and at least a few inches long. A missing or damaged stem is a sign of potential decay.
- Properly Cured: Pumpkins that have been properly cured in the field will last longer. These pumpkins will have a dry, hardened skin.
Pre-Carving Preservation Techniques
If you’re not planning to carve your pumpkin right away, there are several steps you can take to extend its lifespan. These techniques focus on preventing moisture loss and inhibiting mold growth.
Cleaning Your Pumpkin
Before storing your pumpkin, gently clean it with a soft cloth or brush to remove any dirt or debris. Avoid using harsh chemicals or abrasive cleaners, as these can damage the rind. A simple solution of water and a mild dish soap is usually sufficient. Dry the pumpkin thoroughly before storing it.
Applying a Protective Coating
Applying a thin layer of petroleum jelly or vegetable oil can help seal the pumpkin’s surface and prevent moisture loss. Be sure to apply the coating evenly and avoid getting it on the stem, as this can promote rot. Some people also recommend using a sealant spray specifically designed for pumpkins.
Proper Storage Conditions
Store your pumpkin in a cool, dry place with good air circulation. A basement, garage, or shed are ideal locations. Avoid storing pumpkins in direct sunlight or in areas with high humidity. The ideal temperature for storing pumpkins is between 50 and 60 degrees Fahrenheit (10-15 degrees Celsius). Elevating the pumpkin on a pallet or piece of cardboard can also help improve air circulation and prevent moisture buildup.
Post-Carving Preservation Methods
Once you’ve carved your pumpkin, it becomes much more susceptible to decay. Carving breaks the pumpkin’s protective barrier, allowing bacteria and mold to enter. However, there are several methods you can use to slow down the decomposition process.
Removing Excess Moisture
After carving, remove as much of the pumpkin’s pulp and seeds as possible. These materials are a breeding ground for bacteria and mold. Use a scraper or spoon to thoroughly clean the inside of the pumpkin. You can also pat the inside dry with paper towels to remove any excess moisture.
Using Preservative Solutions
Several preservative solutions can help inhibit mold growth and prolong the life of your carved pumpkin. Some popular options include:
- Bleach Solution: Mix one tablespoon of bleach with one quart of water. Spray the inside and outside of the pumpkin with the solution, being careful to avoid getting it on your clothes or skin. Bleach is a powerful disinfectant that can kill mold and bacteria.
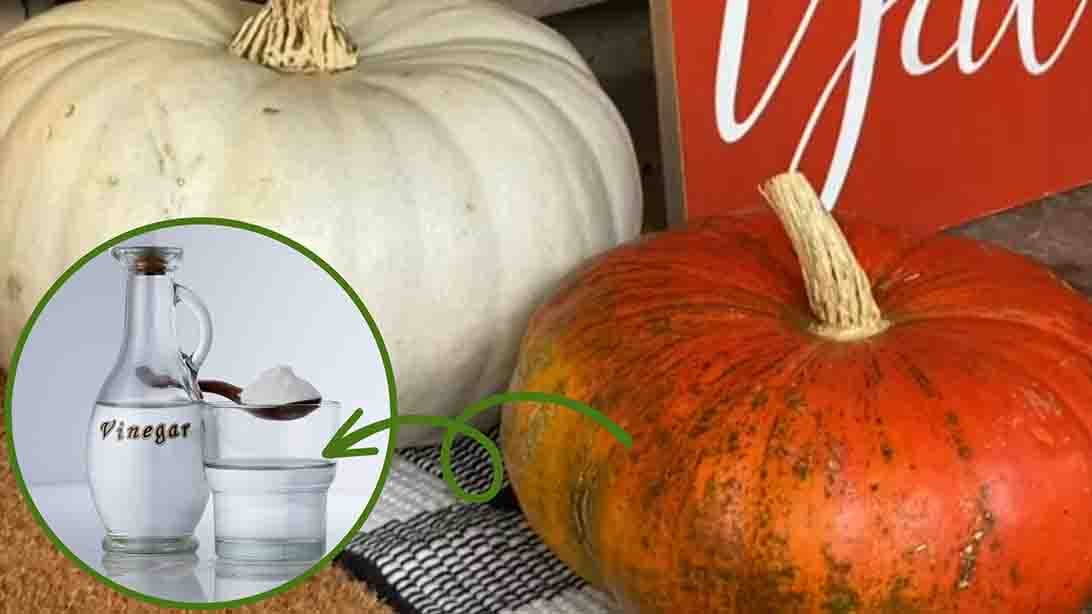
- Vinegar Solution: Mix equal parts white vinegar and water. Vinegar is a natural fungicide that can help prevent mold growth.
- Commercial Pumpkin Preservatives: Several commercial products are specifically designed to preserve carved pumpkins. These products typically contain a combination of fungicides and preservatives.
After applying a preservative solution, allow the pumpkin to dry completely before placing it outside. Reapply the solution every few days to maintain its effectiveness.
Refrigeration
If possible, refrigerate your carved pumpkin overnight. The cold temperature will slow down the decomposition process. Wrap the pumpkin in plastic wrap to prevent it from drying out. Be sure to remove the plastic wrap before placing the pumpkin back outside, as this can trap moisture and promote mold growth.
Dehydration
While it seems counterintuitive, dehydration can actually help preserve carved pumpkins. Placing the pumpkin in a well-ventilated area or using a fan can help remove moisture and prevent mold growth. Avoid placing the pumpkin in direct sunlight, as this can cause it to dry out too quickly and crack.
Environmental Factors to Consider
The environment in which you display your pumpkin can also affect its lifespan. Consider the following factors:
- Temperature: Avoid placing your pumpkin in direct sunlight or in areas with high temperatures. Heat accelerates the decomposition process.
- Humidity: High humidity promotes mold growth. Keep your pumpkin in a well-ventilated area to reduce humidity.
- Rain: Rain can saturate your pumpkin and accelerate rot. Protect your pumpkin from rain by placing it under a porch or awning.
- Pests: Squirrels, rodents, and insects can damage your pumpkin. Consider using a repellent or placing the pumpkin in a protected area.
Troubleshooting Common Problems
Even with the best preservation efforts, pumpkins can still develop problems. Here are some common issues and how to address them:
- Mold Growth: If you notice mold growing on your pumpkin, clean the affected area with a bleach or vinegar solution. Reapply the solution every few days to prevent further growth.
- Soft Spots: Soft spots are a sign of rot. Remove the affected area with a knife or scraper. Apply a preservative solution to the remaining healthy tissue.
- Cracking: Cracking can occur if the pumpkin dries out too quickly. Apply a thin layer of petroleum jelly or vegetable oil to the cracks to help seal them.
- Collapsing: If your pumpkin starts to collapse, it’s likely too far gone to save. Dispose of the pumpkin properly to prevent the spread of disease.
Alternative Preservation Methods
If you’re looking for alternative preservation methods, consider these options:
- Pumpkin Carving Alternatives: Instead of carving your pumpkin, consider painting it or decorating it with other materials. This will avoid breaking the pumpkin’s protective barrier and extend its lifespan.
- Fake Pumpkins: For a truly long-lasting option, consider using fake pumpkins. These pumpkins are made of plastic or foam and can be reused year after year.
- Pumpkin Freezing (for cooking purposes): While not for decoration, you can freeze pumpkin puree for later use in pies or other dishes.
Conclusion
Preserving pumpkins until Halloween requires a combination of proper selection, preparation, and maintenance. By following the techniques outlined in this guide, you can significantly extend the lifespan of your pumpkins and enjoy them throughout the Halloween season. Remember to choose healthy pumpkins, clean them thoroughly, apply preservative solutions, and protect them from the elements. With a little effort, you can keep your jack-o’-lanterns looking their best until the big night. By understanding how to preserve pumpkins until Halloween, you can save money and reduce waste. [See also: Creative Pumpkin Carving Ideas] And if all else fails, remember that even a slightly weathered pumpkin adds to the spooky ambiance of Halloween!
