How to Pump Up Bicycle Tires: A Comprehensive Guide
Maintaining proper tire pressure is crucial for a smooth, safe, and efficient cycling experience. Underinflated tires increase rolling resistance, making pedaling harder and increasing the risk of punctures. Overinflated tires, on the other hand, can lead to a harsh ride and reduced grip. Knowing how to pump up bicycle tires correctly is a fundamental skill for any cyclist. This guide will provide you with a comprehensive understanding of the process, from identifying your tire type and ideal pressure to mastering various pumping techniques.
Understanding Bicycle Tires and Pressure
Before you start inflating, it’s essential to understand the basics of bicycle tires and pressure. Different types of bikes and riding styles require different tire pressures. Road bikes typically use higher pressures for speed and efficiency, while mountain bikes use lower pressures for increased traction and comfort on rough terrain. Hybrid and commuter bikes fall somewhere in between.
Types of Bicycle Tires
- Clincher Tires: The most common type, clincher tires have a bead that hooks onto the rim. They require an inner tube to hold air.
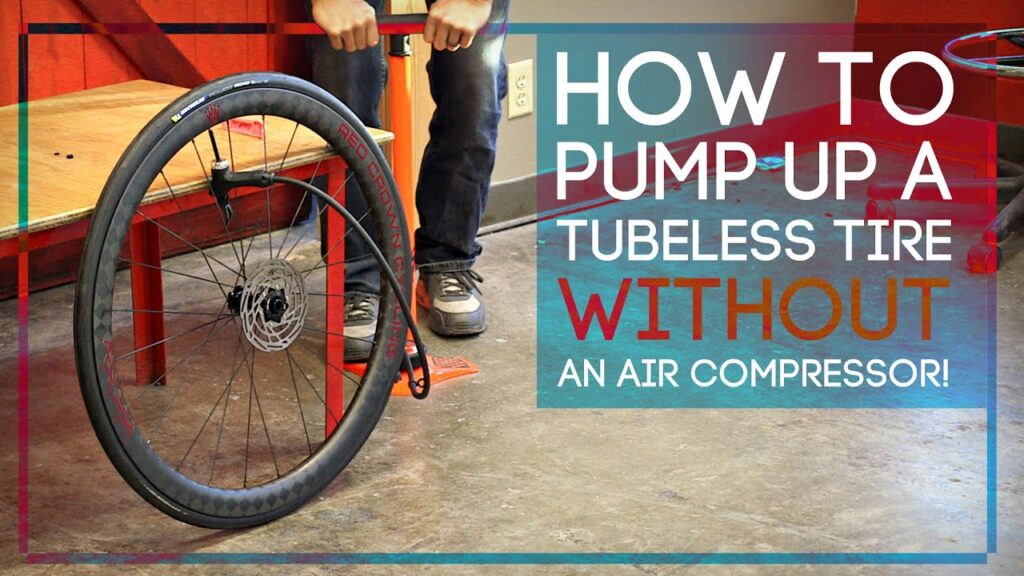
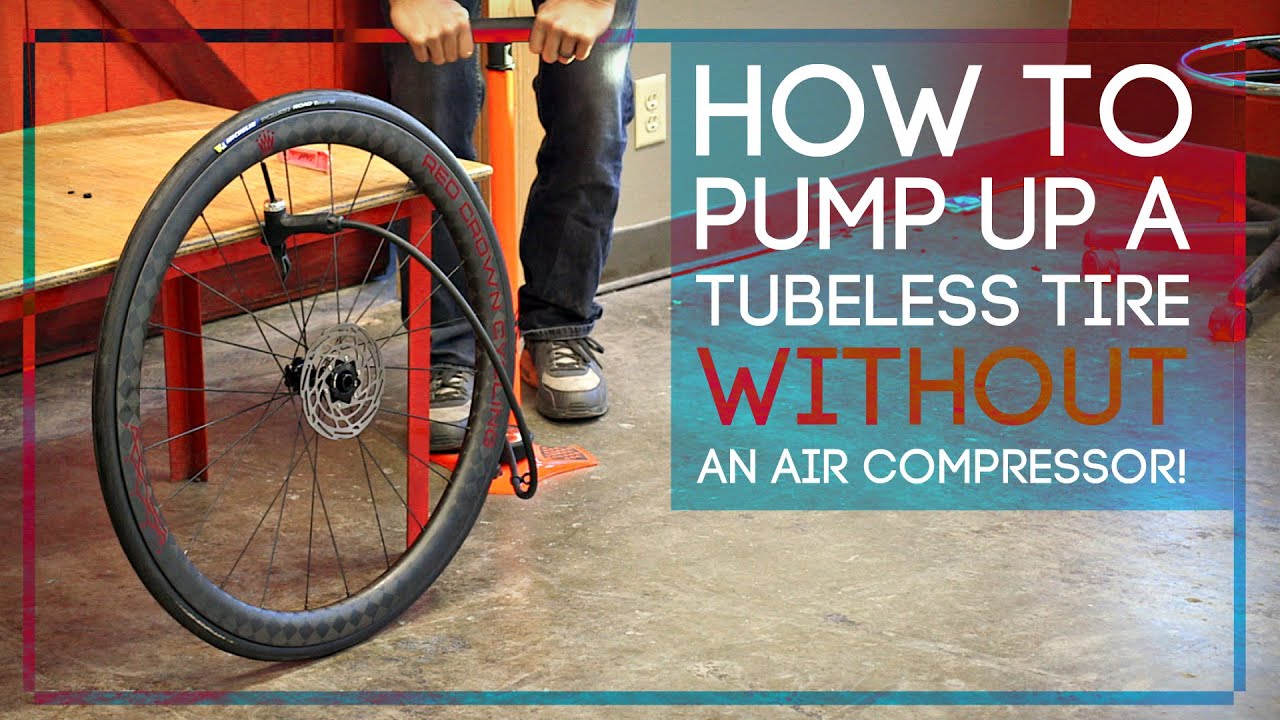
- Tubeless Tires: Tubeless tires are designed to seal directly to the rim without an inner tube. They offer improved puncture resistance and lower rolling resistance.
- Tubular Tires: Also known as sew-ups, tubular tires are glued directly to the rim. They are often used by professional cyclists for their lightweight and supple ride quality.
Understanding Tire Pressure Markings
Every bicycle tire has a recommended pressure range printed on its sidewall. This range is usually expressed in pounds per square inch (PSI) or kilopascals (kPa). For example, a tire might be marked with a pressure range of 80-130 PSI. It’s crucial to stay within this range to avoid tire damage or a dangerous blowout. The optimal pressure for your tires will depend on factors such as your weight, riding style, and road conditions. Heavier riders typically need higher pressures, while lighter riders can use lower pressures.
Essential Tools for Pumping Bicycle Tires
To effectively pump up bicycle tires, you’ll need a few essential tools:
- Bicycle Pump: There are two main types of bicycle pumps: floor pumps and hand pumps. Floor pumps are more efficient and easier to use for inflating tires to higher pressures. Hand pumps are more portable and suitable for on-the-go inflation.
- Pressure Gauge: A pressure gauge is essential for accurately measuring tire pressure. Some pumps have built-in gauges, while others require a separate gauge.
- Valve Adapter (if needed): Some pumps may require a valve adapter to fit different types of valves.
Identifying Your Bicycle Valve Type
Bicycles typically use one of two types of valves: Presta or Schrader. Knowing which type your bike has is essential for using the correct pump.
Presta Valves
Presta valves are commonly found on road bikes and some mountain bikes. They are narrower than Schrader valves and have a locking nut that needs to be unscrewed before inflating. To inflate a Presta valve, first unscrew the locking nut. Then, gently push the valve stem to release any remaining air. Attach the pump head to the valve, ensuring a secure seal. Inflate the tire to the desired pressure, then remove the pump head and tighten the locking nut. [See also: Bicycle Valve Types Explained].
Schrader Valves
Schrader valves are similar to those found on car tires. They are wider than Presta valves and have a spring-loaded pin in the center. To inflate a Schrader valve, simply attach the pump head to the valve, ensuring a secure seal. Inflate the tire to the desired pressure, then remove the pump head. No locking nut is required.
Step-by-Step Guide: How to Pump Up Bicycle Tires
Now that you understand the basics, let’s go through the step-by-step process of how to pump up bicycle tires.
- Inspect the Tire: Before inflating, check the tire for any signs of damage, such as cuts, bulges, or embedded objects. Remove any debris to prevent punctures.
- Locate the Valve: Find the valve stem on the tire.
- Prepare the Valve: If you have a Presta valve, unscrew the locking nut and gently push the valve stem to release any remaining air.
- Attach the Pump: Securely attach the pump head to the valve. Make sure the connection is tight to prevent air leakage.
- Inflate the Tire: Begin pumping the tire, using smooth, controlled strokes. Keep an eye on the pressure gauge to ensure you don’t overinflate.
- Check the Pressure: Once you reach the desired pressure, remove the pump head and check the pressure again with a separate gauge if necessary.
- Secure the Valve: If you have a Presta valve, tighten the locking nut.
- Repeat for the Other Tire: Repeat the process for the other tire.
Tips for Efficient and Safe Tire Inflation
Here are some additional tips to ensure efficient and safe tire inflation:
- Use a Floor Pump: Floor pumps are more efficient and easier to use for inflating tires to higher pressures.
- Check Pressure Regularly: Check your tire pressure before each ride to ensure optimal performance and safety.
- Avoid Overinflation: Overinflating tires can lead to a harsh ride and increased risk of punctures.
- Use a Quality Pump: Invest in a quality pump that is reliable and easy to use.
- Lubricate the Valve: If you have trouble attaching the pump head to the valve, try lubricating the valve with a small amount of grease.
- Listen for Air Leaks: If you hear air leaking from the valve, check the connection between the pump head and the valve.
Troubleshooting Common Tire Inflation Problems
Sometimes, you may encounter problems when trying to pump up bicycle tires. Here are some common issues and their solutions:
- Pump Not Sealing: Make sure the pump head is securely attached to the valve. Try adjusting the position of the pump head or using a different pump head.
- Air Leaking from Valve: Check the valve for damage or debris. Try tightening the valve core with a valve core tool.
- Tire Not Holding Air: Check the tire for punctures or leaks. If you find a puncture, repair or replace the inner tube.
- Pump Not Building Pressure: Check the pump for damage or wear. Make sure the pump is properly assembled and lubricated.
Choosing the Right Tire Pressure
As mentioned earlier, the optimal tire pressure depends on several factors. Here’s a more detailed look at how to choose the right pressure for your needs. Your weight is a crucial factor. Heavier riders need higher pressure to prevent pinch flats (when the inner tube gets pinched between the rim and the tire). Lighter riders can use lower pressures for a more comfortable ride. The type of riding you do also matters. Road cyclists often prefer higher pressures for speed and efficiency, while mountain bikers typically use lower pressures for better traction and control on uneven terrain. The tire width also influences the ideal pressure. Wider tires can handle lower pressures without the risk of pinch flats. Consider the road conditions. Smooth pavement allows for higher pressures, while rough roads require lower pressures for a more comfortable ride. Experiment with different pressures to find what works best for you. Start with the recommended range on the tire sidewall and adjust from there. Lower the pressure gradually until you find a comfortable ride without feeling like you’re bottoming out on bumps. Remember to always stay within the recommended pressure range to avoid tire damage or a blowout. Regularly checking your tire pressure is crucial for maintaining optimal performance and safety. Get a reliable pressure gauge and make it a habit to check your tires before each ride. Proper tire inflation will improve your cycling experience and help you avoid flats and other problems.
The Importance of Regular Tire Maintenance
Knowing how to pump up bicycle tires is just one aspect of proper bicycle maintenance. Regularly inspecting your tires for wear and tear, such as cuts, bulges, or embedded objects, is also essential. Removing any debris can prevent punctures and extend the life of your tires. Consider the climate in which you are riding. Hot weather can increase tire pressure, while cold weather can decrease it. Adjust your tire pressure accordingly to maintain optimal performance and safety. Proper tire inflation and maintenance are essential for a safe, comfortable, and efficient cycling experience. By following the tips and guidelines outlined in this guide, you can ensure that your tires are always properly inflated and ready for your next ride. Correctly inflated tires not only improve your ride quality but also contribute to better handling and reduced rolling resistance. So, take the time to learn how to pump up bicycle tires correctly and make it a part of your regular cycling routine. [See also: Bicycle Maintenance Checklist].
Conclusion
Mastering how to pump up bicycle tires is a fundamental skill for any cyclist. By understanding the different types of tires and valves, using the right tools, and following the step-by-step instructions, you can ensure that your tires are always properly inflated. Remember to check your tire pressure regularly, adjust it to suit your riding conditions, and maintain your tires to prevent problems. With properly inflated tires, you’ll enjoy a smoother, safer, and more efficient cycling experience.

