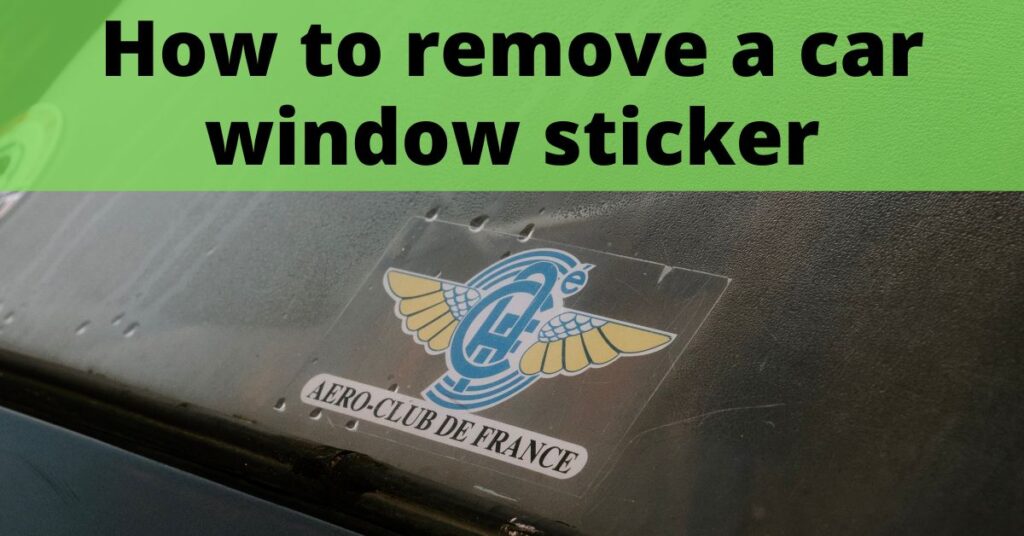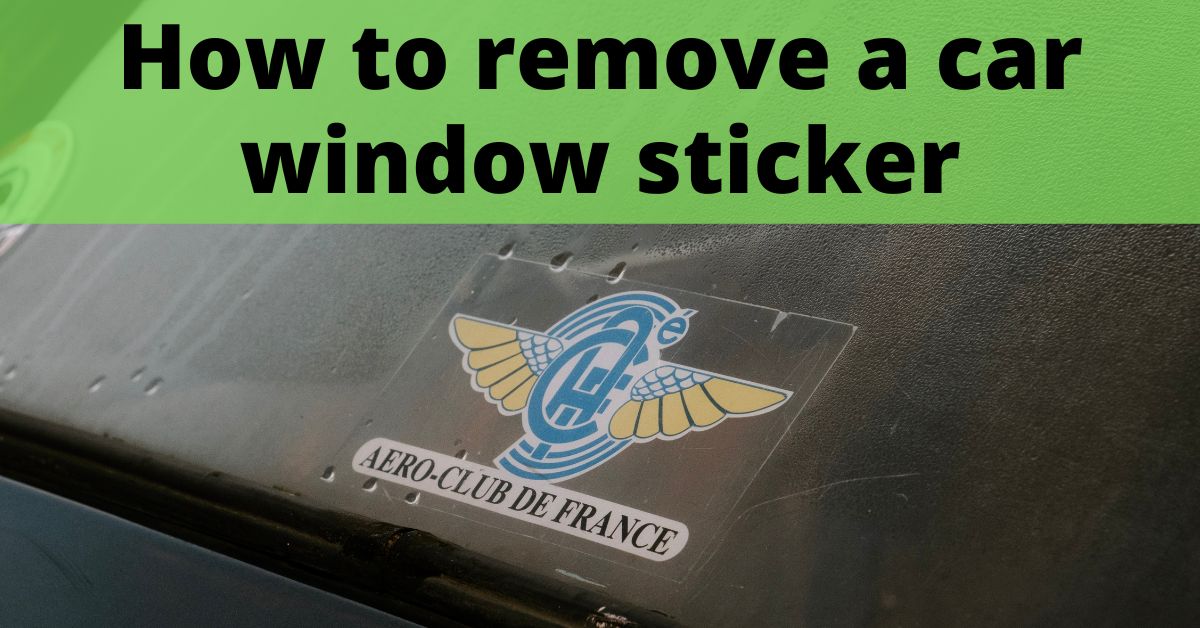
How to Remove a Sticker from Your Car Without Damaging the Paint
Stickers on cars, whether they are bumper stickers showing off your favorite band or decals promoting a local business, can add personality to your vehicle. However, there comes a time when you might want to remove them. Perhaps you’re selling your car, or maybe your tastes have simply changed. Whatever the reason, removing a sticker from your car requires a delicate touch to avoid damaging the paint. This guide will walk you through the best methods for removing stickers safely and effectively, ensuring your car looks its best.
Understanding the Challenge: Why Removing Stickers Can Be Tricky
The adhesive used on stickers is designed to create a strong bond, making them resistant to peeling off easily. Over time, exposure to sunlight, heat, and weather can further strengthen this bond, making the sticker even more difficult to remove. Attempting to simply peel off a sticker can result in tearing, leaving behind unsightly residue, or, worse, damaging the car’s paint. It’s crucial to use the right techniques and tools to minimize the risk of damage. Knowing how to remove a sticker from car effectively is a valuable skill for any car owner. This article provides a comprehensive guide.
Essential Tools and Materials
Before you begin, gather the necessary tools and materials. Having everything on hand will streamline the process and minimize the risk of scratching or otherwise damaging your car’s finish. Here’s a list of what you’ll need:
- Heat Gun or Hair Dryer: Provides gentle heat to soften the adhesive.
- Plastic Razor Blade or Scraper: For lifting the edges of the sticker without scratching the paint.
- Microfiber Cloths: Soft cloths for wiping away residue and cleaning the surface.
- Adhesive Remover: Specifically designed for removing sticker residue without harming the paint. Options include Goo Gone Automotive, 3M Adhesive Remover, or even WD-40.
- Warm, Soapy Water: For cleaning the area before and after sticker removal.
- Isopropyl Alcohol (Optional): For stubborn residue, but test in an inconspicuous area first.
- Car Wax or Polish: To restore the shine to the area after removing the sticker.
Step-by-Step Guide: Removing the Sticker
Step 1: Cleaning the Area
Before you even think about peeling, thoroughly clean the area around the sticker with warm, soapy water. This removes dirt, grime, and any other contaminants that could scratch the paint during the removal process. Rinse the area and dry it completely with a microfiber cloth.
Step 2: Applying Heat
This is arguably the most important step. Heat softens the adhesive, making the sticker much easier to remove. Using a heat gun or hair dryer, apply heat to the sticker in a sweeping motion. Hold the heat source a few inches away from the surface to avoid overheating the paint. Focus on the edges of the sticker, as this is where the adhesive is strongest. After a few minutes of heating, the sticker should feel warm to the touch and more pliable. The goal is to soften the adhesive and make the sticker more manageable. Understanding how to remove a sticker from car hinges on this step.
Step 3: Lifting the Edge
Once the sticker is heated, use a plastic razor blade or scraper to gently lift an edge. Work slowly and carefully, trying to get under the sticker without scratching the paint. Avoid using metal scrapers, as they can easily damage the surface. If the sticker resists, apply more heat to soften the adhesive further. Once you have lifted an edge, continue to work the scraper underneath the sticker, gradually peeling it away from the car. Patience is key here; avoid yanking or pulling forcefully, as this can cause the sticker to tear and leave behind residue. Knowing how to remove a sticker from car requires careful attention to detail.
Step 4: Removing the Sticker
Continue peeling the sticker slowly and steadily, applying heat as needed to soften the adhesive. If the sticker tears, don’t panic. Simply reheat the area and continue peeling from where you left off. The goal is to remove the sticker in one piece, but this isn’t always possible. If you encounter stubborn areas, try using the plastic razor blade to gently scrape away the adhesive as you peel. Remember to be gentle and avoid applying too much pressure, as this can scratch the paint. This step is crucial for understanding how to remove a sticker from car properly.
Step 5: Removing Adhesive Residue
Even after removing the sticker, you’ll likely be left with some adhesive residue. This can be unsightly and attract dirt and grime. To remove the residue, apply an adhesive remover such as Goo Gone Automotive, 3M Adhesive Remover, or WD-40 to a microfiber cloth. Gently rub the affected area in a circular motion. Allow the adhesive remover to sit for a few minutes to dissolve the residue. Then, wipe away the residue with a clean microfiber cloth. You may need to repeat this process several times to remove all of the residue. For stubborn residue, you can try using isopropyl alcohol, but be sure to test it in an inconspicuous area first to ensure it doesn’t damage the paint. This stage is critical for successfully knowing how to remove a sticker from car.
Step 6: Cleaning and Polishing
Once you’ve removed all of the adhesive residue, clean the area with warm, soapy water to remove any traces of the adhesive remover. Rinse the area and dry it completely with a microfiber cloth. Finally, apply a car wax or polish to restore the shine to the area. This will protect the paint and help blend the area with the surrounding surface. Polishing the area will make it look as good as new, completing the process of learning how to remove a sticker from car.
Alternative Methods for Removing Stickers
While the heat gun and plastic razor blade method is generally the most effective, there are a few alternative methods you can try:
- Vinegar: Soak a cloth in white vinegar and apply it to the sticker. Let it sit for several minutes, then try peeling the sticker away.
- Baking Soda Paste: Mix baking soda with water to form a paste. Apply the paste to the sticker and let it sit for a few minutes, then try peeling the sticker away.
- Peanut Butter: The oils in peanut butter can help dissolve the adhesive. Apply peanut butter to the sticker and let it sit for several minutes, then wipe it away with a cloth.
These methods may be less effective than the heat gun method, but they are worth trying if you don’t have the necessary tools on hand. It’s always a good idea to test any cleaning solution in an inconspicuous area first to ensure it doesn’t damage the paint. If you’re still unsure about how to remove a sticker from car, consider consulting a professional detailer.
Preventing Future Sticker Problems
To avoid having to remove stickers in the future, consider using static cling stickers instead of adhesive stickers. These stickers adhere to the surface using static electricity and are much easier to remove. You can also apply a clear protective film over the sticker to protect it from the elements and make it easier to remove later on. Taking preventative measures can save you time and effort in the long run. This is particularly important if you frequently change the stickers on your car. Furthermore, understanding how to remove a sticker from car means you can confidently apply new stickers without worry.
Common Mistakes to Avoid
Removing stickers from cars can be tricky, and it’s easy to make mistakes that can damage the paint. Here are a few common mistakes to avoid:
- Using a Metal Scraper: Metal scrapers can easily scratch the paint. Always use a plastic razor blade or scraper.
- Applying Too Much Heat: Overheating the paint can cause it to blister or fade. Use a heat gun or hair dryer on a low setting and keep it moving.
- Pulling Too Hard: Forcibly pulling the sticker can cause it to tear and leave behind residue. Work slowly and carefully.
- Using Abrasive Cleaners: Abrasive cleaners can scratch the paint. Use gentle cleaners specifically designed for cars.
By avoiding these common mistakes, you can minimize the risk of damage and ensure a successful sticker removal. Proper technique is essential when learning how to remove a sticker from car.
When to Seek Professional Help
If you’re uncomfortable removing the sticker yourself, or if you’re dealing with a particularly stubborn sticker, it’s best to seek professional help. A professional detailer will have the tools and expertise to remove the sticker safely and effectively. They can also repair any minor damage to the paint that may occur during the removal process. Knowing when to seek professional help is crucial for preserving the value and appearance of your car. While learning how to remove a sticker from car is useful, professionals can handle challenging situations.
Conclusion
Removing a sticker from your car doesn’t have to be a daunting task. By following these steps and using the right tools, you can safely and effectively remove stickers without damaging the paint. Remember to be patient, work slowly, and avoid common mistakes. With a little effort, you can restore your car’s appearance and enjoy a clean, sticker-free surface. Knowing how to remove a sticker from car is a valuable skill that can save you time and money in the long run. So, the next time you need to remove a sticker, don’t hesitate to tackle the job yourself. [See also: Car Detailing Tips and Tricks], [See also: Best Car Cleaning Products], [See also: How to Protect Your Car’s Paint]

