
How to Remove a Stripped Nut: A Comprehensive Guide
Dealing with a stripped nut can be incredibly frustrating, whether you’re a seasoned mechanic or a DIY enthusiast. A stripped nut, where the edges of the nut have been worn down, making it difficult or impossible to grip with a wrench or socket, is a common problem. This article provides a comprehensive guide on how to remove a stripped nut, covering various methods, tools, and preventative measures to ensure you can tackle this issue efficiently and effectively. Understanding how to remove a stripped nut is a vital skill for anyone working with machinery, vehicles, or even household appliances. A stripped nut can halt a project in its tracks, but with the right knowledge and tools, you can overcome this challenge.
Understanding the Problem: What is a Stripped Nut?
Before diving into the solutions, it’s crucial to understand what a stripped nut actually is. A stripped nut occurs when the sharp edges of the nut, designed to be gripped by a wrench or socket, become rounded or damaged. This damage prevents the tool from properly gripping the nut, making it spin uselessly. Several factors can contribute to stripping a nut, including:
- Overtightening: Applying excessive force can weaken the nut’s edges.
- Using the Wrong Tool: Attempting to use a tool that doesn’t fit properly can damage the nut.
- Corrosion: Rust and corrosion can weaken the metal, making it more susceptible to stripping.
- Material Quality: Inferior materials are more prone to stripping under stress.
Recognizing the cause of the stripped nut can help you prevent future occurrences. Now, let’s delve into the methods of how to remove a stripped nut.
Essential Tools for Removing Stripped Nuts
Having the right tools is paramount for successfully removing a stripped nut. Here’s a list of essential tools you might need:
- Penetrating Oil: Helps to loosen corroded or stuck nuts.
- Wrench Set (Standard and Metric): A comprehensive set ensures you have the right size.
- Socket Set (Standard and Metric): Sockets often provide a better grip than wrenches.
- Hammer: For tapping tools into place or applying impact.
- Pliers (Various Types): Including locking pliers (Vise-Grips) and needle-nose pliers.
- Nut Splitter: A specialized tool for breaking the nut apart.
- Bolt Extractor Set: Designed to grip and remove damaged nuts.
- Heat Gun or Torch: For heating the nut to expand it slightly.
- Files: For cleaning threads or reshaping damaged edges.
- Safety Glasses and Gloves: Essential for protecting yourself during the process.
With the right tools in hand, you’re ready to explore the various methods of how to remove a stripped nut.
Methods for Removing a Stripped Nut
There are several methods you can try to remove a stripped nut, ranging from simple to more complex. The best approach depends on the severity of the stripping and the tools available.
Method 1: Penetrating Oil and Patience
This is often the first and simplest approach. Apply penetrating oil liberally to the nut and the surrounding area. Allow it to soak in for at least 15-30 minutes, or even overnight for heavily corroded nuts. The oil helps to break down rust and corrosion, making it easier to turn the nut. After soaking, try using a wrench or socket to loosen the nut. Apply steady, even pressure, and avoid jerking motions, which can further damage the nut. Sometimes, a little patience and lubrication are all you need to successfully remove a stripped nut.
Method 2: Using Locking Pliers (Vise-Grips)
Locking pliers, also known as Vise-Grips, are designed to grip objects tightly. Adjust the pliers to fit snugly around the stripped nut, ensuring a firm grip. Once locked in place, apply steady pressure to turn the nut. This method is particularly effective for nuts that are only slightly stripped. Be careful not to apply too much force, as you could further damage the surrounding components. This is a common technique for how to remove a stripped nut when other methods fail. [See also: How to Use Locking Pliers Effectively]
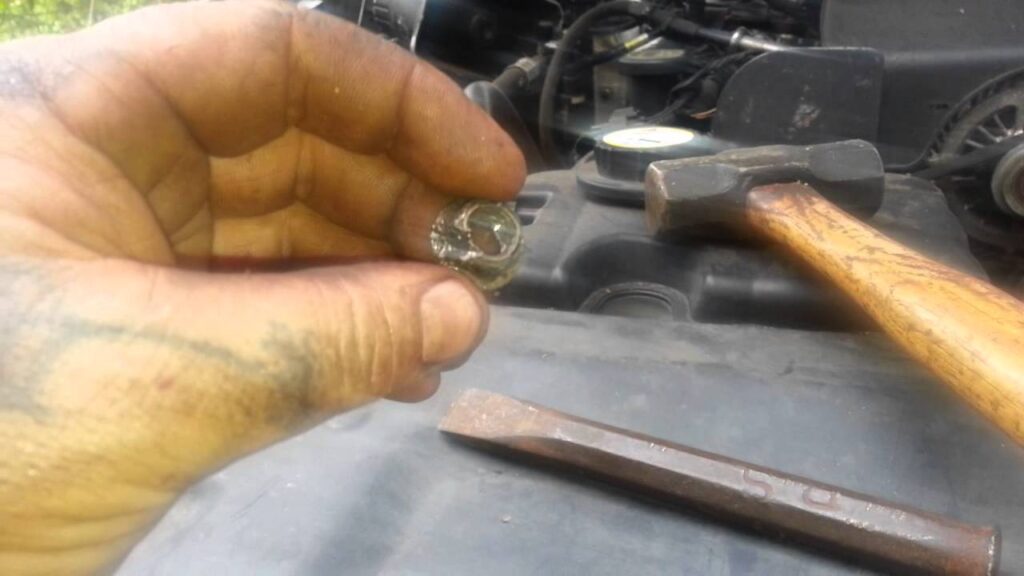
Method 3: Hammering a Smaller Socket
If a standard socket is slipping, try hammering a slightly smaller socket onto the stripped nut. The force of the hammer can help the socket grip the nut’s remaining edges. Choose a socket that is just slightly smaller than the nut and tap it firmly into place using a hammer. Then, use a wrench to turn the socket and hopefully loosen the nut. This method requires a bit of finesse, but it can be surprisingly effective in situations where other tools can’t get a good grip. Remember safety glasses when hammering. This is another popular method for how to remove a stripped nut.
Method 4: Using a Nut Splitter
A nut splitter is a specialized tool designed to break the nut apart without damaging the bolt or surrounding components. Place the nut splitter around the stripped nut and tighten the screw until the blade cuts into the nut. Continue tightening until the nut cracks open. Once the nut is split, you can easily remove it. Nut splitters are particularly useful for heavily corroded or severely stripped nuts. This method is a more aggressive approach to how to remove a stripped nut, but it’s often necessary in difficult situations.
Method 5: Bolt Extractor Set
Bolt extractor sets are designed specifically for removing damaged or stripped nuts and bolts. These sets typically include a variety of extractor sockets that have reverse threads or aggressive teeth designed to grip the damaged nut. Choose an extractor socket that is slightly smaller than the stripped nut and hammer it onto the nut. Then, use a wrench to turn the extractor socket and remove the nut. Bolt extractor sets are a reliable option for how to remove a stripped nut, especially when other methods have failed.
Method 6: Heating the Nut
Applying heat to the nut can help to expand the metal slightly, making it easier to loosen. Use a heat gun or torch to heat the nut for a few minutes. Be careful not to overheat the surrounding components, as this could cause damage. After heating, try using a wrench or socket to remove the nut. This method is particularly effective for nuts that are seized due to corrosion. Always wear appropriate safety gear, including gloves and eye protection, when working with heat. This technique offers another avenue for how to remove a stripped nut, particularly when dealing with rust.
Method 7: Welding a New Nut
If all other methods fail, you can try welding a new nut onto the stripped nut. This provides a fresh set of edges to grip with a wrench or socket. Clean the area around the stripped nut thoroughly and then weld a new nut directly onto it. Allow the weld to cool completely before attempting to remove the nut. This method requires welding skills and equipment, but it can be a last resort for stubborn stripped nuts. This is an advanced technique for how to remove a stripped nut and should only be attempted by experienced individuals.
Preventing Stripped Nuts in the Future
Prevention is always better than cure. Here are some tips to help prevent stripping nuts in the future:
- Use the Right Tool: Always use the correct size and type of wrench or socket for the nut.
- Avoid Overtightening: Use a torque wrench to tighten nuts to the manufacturer’s specified torque.
- Apply Lubrication: Use anti-seize lubricant on threads to prevent corrosion and seizing.
- Inspect Nuts Regularly: Check for signs of corrosion or damage and replace nuts as needed.
- Use Quality Materials: Opt for high-quality nuts and bolts that are less prone to stripping.
By following these preventative measures, you can significantly reduce the likelihood of encountering stripped nuts in your projects. Learning how to remove a stripped nut is important, but preventing it is even better.
Conclusion
Removing a stripped nut can be a challenging task, but with the right tools and techniques, it’s certainly achievable. Whether you’re using penetrating oil, locking pliers, a nut splitter, or a bolt extractor set, the key is to approach the problem methodically and carefully. Remember to prioritize safety and take your time to avoid further damage. By understanding the causes of stripped nuts and implementing preventative measures, you can minimize the risk of encountering this frustrating problem in the future. Mastering how to remove a stripped nut is a valuable skill for any DIY enthusiast or professional mechanic. Now you’re equipped with the knowledge to tackle those stubborn nuts with confidence and precision. Knowing how to remove a stripped nut is a skill that will save you time and frustration. Remember to always use the right tools and techniques to avoid damaging the nut further. Understanding how to remove a stripped nut can be a game changer for any project. The ability to remove a stripped nut efficiently is a testament to your problem-solving skills. When you know how to remove a stripped nut, you’re prepared for almost anything! Don’t forget, how to remove a stripped nut effectively often comes down to patience and persistence. Ultimately, knowing how to remove a stripped nut is an essential part of any toolbox.
