
How to Remove Vinyl Stickers from a Vehicle: A Comprehensive Guide
Vinyl stickers are a popular way to personalize vehicles, whether for business branding, personal expression, or simply adding a touch of flair. However, there comes a time when these stickers need to be removed, either due to fading, damage, or a change in branding. Removing vinyl stickers from a vehicle can seem daunting, but with the right tools and techniques, it can be done safely and effectively without damaging the paint. This comprehensive guide will walk you through the process, providing step-by-step instructions and expert tips to ensure a smooth and successful removal. This article will cover everything you need to know about how to remove vinyl stickers from a vehicle.
Understanding the Challenge of Removing Vinyl Stickers
Before diving into the removal process, it’s important to understand why removing vinyl stickers can be tricky. Vinyl stickers are designed to adhere strongly to surfaces, making them resistant to peeling or lifting. Over time, exposure to sunlight, heat, and weather can cause the adhesive to bond even more tightly, making removal more difficult. Improper removal techniques can lead to damage to the vehicle’s paint, leaving behind sticky residue, or even peeling off the clear coat. Knowing the potential pitfalls helps you approach the task with the right mindset and precautions.
Tools and Materials You’ll Need
Having the right tools and materials on hand is crucial for a successful vinyl sticker removal. Here’s a list of essentials:
- Heat Gun or Hair Dryer: Applying heat softens the adhesive, making it easier to peel the sticker.
- Plastic Razor Blade or Scraper: A plastic blade minimizes the risk of scratching the paint compared to metal blades.
- Adhesive Remover: Products like Goo Gone or 3M Adhesive Remover help dissolve stubborn residue.
- Microfiber Cloths: Soft cloths are essential for wiping away residue and cleaning the surface.
- Spray Bottle with Warm Soapy Water: Useful for cleaning the area before and after sticker removal.
- Isopropyl Alcohol: Helps remove any remaining adhesive residue.
- Gloves: Protect your hands from chemicals and heat.
- Safety Glasses: Protect your eyes from adhesive remover spray.
Step-by-Step Guide: Removing Vinyl Stickers from Your Vehicle
Follow these steps carefully to remove vinyl stickers from your vehicle safely and effectively:
Prepare the Area
Start by washing the area around the sticker with warm soapy water. This removes dirt and grime that could scratch the paint during the removal process. Rinse the area thoroughly and dry it with a clean microfiber cloth.
Apply Heat
Using a heat gun or hair dryer, apply heat to the vinyl sticker. Hold the heat source a few inches away from the surface and move it back and forth to evenly heat the sticker. Avoid overheating, as this can damage the paint. The goal is to soften the adhesive, not melt the vinyl. Heat for about 1-2 minutes depending on the size and age of the sticker. This step is crucial for how to remove vinyl stickers from a vehicle effectively.
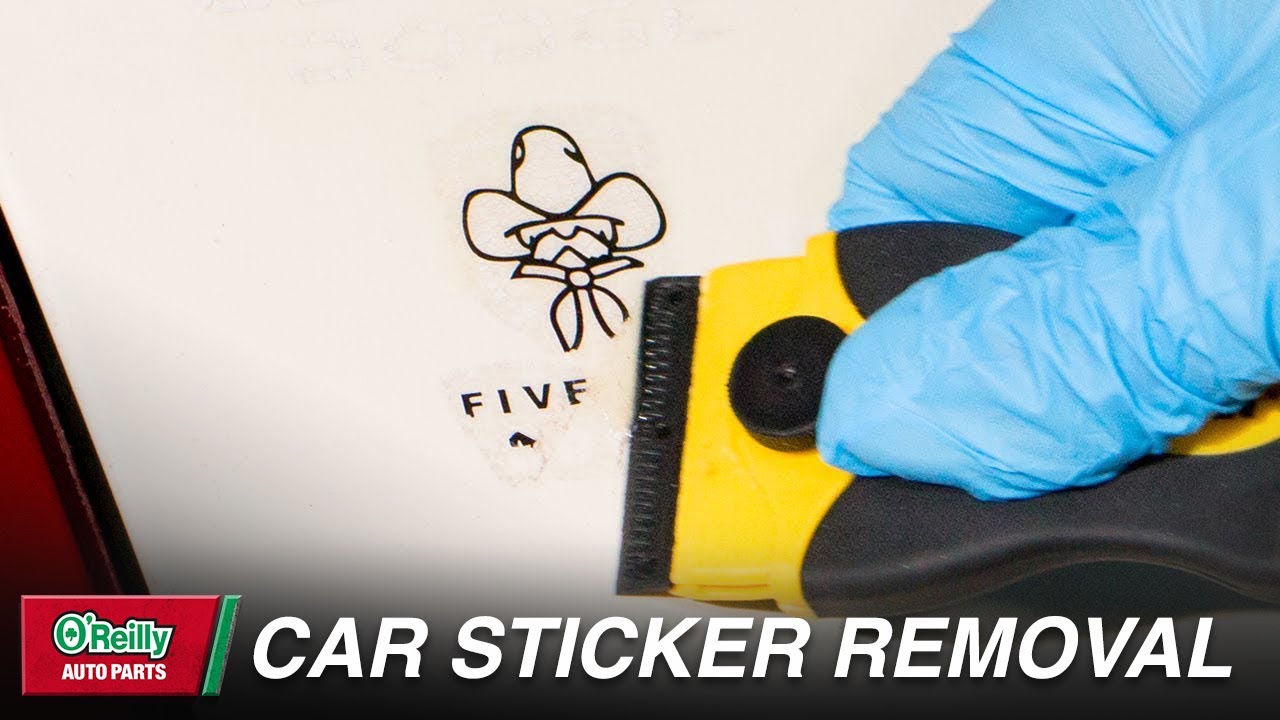
Peel the Sticker
Once the sticker is heated, use a plastic razor blade or scraper to gently lift an edge of the sticker. Slowly peel the sticker away from the surface, applying heat as needed to soften the adhesive. Work at a shallow angle to avoid scratching the paint. If the sticker tears, reheat the area and continue peeling from a different angle. Patience is key in this step.
Remove Adhesive Residue
After removing the sticker, you’ll likely be left with some adhesive residue. Apply an adhesive remover like Goo Gone or 3M Adhesive Remover to the affected area. Let it sit for a few minutes to dissolve the residue. Then, use a clean microfiber cloth to wipe away the residue. You may need to repeat this process several times for stubborn residue. Isopropyl alcohol can also be used to remove any remaining traces of adhesive. This is an important step in learning how to remove vinyl stickers from a vehicle without leaving a mess.
Clean and Polish the Area
Once all the adhesive residue is removed, clean the area with warm soapy water to remove any remaining chemicals. Rinse the area thoroughly and dry it with a clean microfiber cloth. Finally, apply a coat of wax or polish to protect the paint and restore its shine. This step helps blend the area where the sticker was with the surrounding paint, ensuring a seamless finish.
Advanced Techniques for Stubborn Stickers
Sometimes, despite your best efforts, a vinyl sticker may prove particularly stubborn. Here are some advanced techniques you can try:
Steam
Using a steamer can be an effective way to loosen the adhesive on old or brittle stickers. The steam penetrates the vinyl, softening the adhesive and making it easier to peel. Be careful not to hold the steamer too close to the paint, as excessive heat can cause damage.
Specialized Adhesive Removal Tools
There are specialized tools available for removing vinyl stickers, such as eraser wheels or adhesive removal pads. These tools attach to a drill and use friction to remove the sticker and adhesive. However, they can be aggressive and should be used with caution, especially on delicate paint finishes. Always test the tool in an inconspicuous area first to ensure it doesn’t damage the paint.
Professional Help
If you’re uncomfortable attempting to remove the sticker yourself, or if you’re dealing with a large or complex sticker, consider seeking professional help. Auto detailing shops and sign shops often offer vinyl sticker removal services and have the expertise and equipment to do the job safely and effectively. It might be worth the cost to avoid potential damage to your vehicle’s paint.
Preventing Damage During Sticker Removal
Preventing damage to your vehicle’s paint is paramount when removing vinyl stickers. Here are some tips to minimize the risk:
- Use Plastic Tools: Always use plastic razor blades or scrapers to avoid scratching the paint. Metal tools can easily damage the clear coat and leave unsightly marks.
- Apply Heat Carefully: Avoid overheating the sticker, as this can damage the paint. Use a heat gun or hair dryer on a low setting and keep it moving to distribute the heat evenly.
- Test Adhesive Removers: Before applying adhesive remover to the entire area, test it in an inconspicuous spot to ensure it doesn’t damage the paint.
- Be Patient: Rushing the removal process can lead to mistakes and damage. Take your time and work carefully to avoid tearing the sticker or scratching the paint.
Choosing the Right Adhesive Remover
Selecting the right adhesive remover is crucial for effectively removing residue without damaging your vehicle’s paint. Here are some popular options and their pros and cons:
- Goo Gone: A widely available and effective adhesive remover. It’s safe for most surfaces but may require multiple applications for stubborn residue.
- 3M Adhesive Remover: A professional-grade adhesive remover that’s highly effective but can be more aggressive. Test it in an inconspicuous area before use.
- WD-40: A versatile lubricant that can also be used to remove adhesive residue. It’s less aggressive than other removers but may require more effort.
- Isopropyl Alcohol: A mild solvent that can be used to remove light adhesive residue. It’s safe for most surfaces but may not be effective on stubborn residue.
The Importance of Preparation
Proper preparation is key to a successful vinyl sticker removal. Make sure you have all the necessary tools and materials on hand before you begin. Clean the area around the sticker thoroughly to remove dirt and grime. Protect your hands and eyes with gloves and safety glasses. A well-prepared workspace will make the removal process smoother and more efficient. Understanding how to remove vinyl stickers from a vehicle starts with the right preparation.
Aftercare: Protecting Your Vehicle’s Paint
After removing the vinyl sticker, it’s important to protect your vehicle’s paint. Apply a coat of wax or polish to the area to restore its shine and protect it from the elements. This will also help blend the area where the sticker was with the surrounding paint, ensuring a seamless finish. Regularly washing and waxing your vehicle will help maintain its appearance and protect the paint from damage. Taking care of your vehicle after removing the sticker is just as important as the removal process itself.
Common Mistakes to Avoid
Avoiding common mistakes can save you time, effort, and potential damage to your vehicle. Here are some pitfalls to watch out for:
- Using Metal Tools: Metal razor blades or scrapers can easily scratch the paint. Always use plastic tools.
- Overheating the Sticker: Excessive heat can damage the paint. Use a heat gun or hair dryer on a low setting and keep it moving.
- Rushing the Process: Rushing can lead to mistakes and damage. Take your time and work carefully.
- Ignoring Residue: Leaving adhesive residue can attract dirt and grime, making it harder to remove later. Remove all residue thoroughly.
- Not Testing Products: Always test adhesive removers in an inconspicuous area before applying them to the entire surface.
When to Seek Professional Help
While many vinyl sticker removal projects can be tackled at home, there are situations where seeking professional help is the best course of action. Consider hiring a professional if:
- The Sticker is Large or Complex: Removing a large or intricate sticker can be challenging and time-consuming.
- The Sticker is Old or Brittle: Old stickers can be difficult to remove without damaging the paint.
- You’re Uncomfortable with the Process: If you’re not confident in your ability to remove the sticker safely, it’s best to leave it to the professionals.
- You’ve Already Damaged the Paint: If you’ve already scratched or damaged the paint, a professional can repair the damage and remove the sticker without causing further harm.
Alternatives to Removing Vinyl Stickers
While this article focuses on how to remove vinyl stickers from a vehicle, sometimes you might consider alternatives. Instead of removing a sticker, you might consider covering it with a new one, especially if the existing sticker is in a difficult location or if you’re concerned about damaging the paint. Alternatively, you could incorporate the existing sticker into a new design, blending it with other elements to create a cohesive look. These options can save you time and effort while still achieving the desired result.
Conclusion
Removing vinyl stickers from a vehicle can be a straightforward process with the right tools, techniques, and a little patience. By following the steps outlined in this guide, you can safely and effectively remove stickers without damaging your vehicle’s paint. Remember to prepare the area, apply heat carefully, use plastic tools, and remove all adhesive residue. If you encounter any difficulties or are uncomfortable with the process, don’t hesitate to seek professional help. With the right approach, you can restore your vehicle’s appearance and keep it looking its best. Now you know how to remove vinyl stickers from a vehicle like a pro! [See also: How to Detail Your Car Like a Pro] [See also: Best Car Cleaning Products] [See also: Automotive Paint Protection Films]
