Mastering Silicone Application: Pro Tricks for Perfect Seals and Finishes
Achieving a flawless silicone seal isn’t just about squeezing a tube; it’s an art honed through understanding, technique, and a few insider silicone application tricks. Whether you’re sealing a bathtub, caulking a window, or working on a DIY project, mastering the application of silicone can make the difference between a professional-looking finish and a messy, ineffective seal. This guide will delve into essential silicone application tricks that will elevate your skills, ensuring durable, aesthetically pleasing results every time.
Understanding Silicone Sealants
Before diving into the silicone application tricks, it’s crucial to understand what silicone sealant is and its properties. Silicone sealants are polymers used to create waterproof and airtight seals. They come in various formulations, each designed for specific applications. Common types include:
- Acetoxy Silicone: Known for its strong odor (vinegar-like smell) and excellent adhesion to non-porous surfaces like glass and ceramic.
- Neutral Cure Silicone: Odorless and versatile, suitable for a wider range of materials including metals, plastics, and some porous surfaces.
- Sanitary Silicone: Contains fungicides to prevent mold and mildew growth, ideal for bathrooms and kitchens.
Choosing the right type of silicone is the first step toward a successful application. Consider the materials you’re working with, the environment, and the desired properties of the seal.
Essential Tools and Preparation
Having the right tools and preparing the surface properly are foundational silicone application tricks. Here’s what you’ll need:
- Caulking Gun: A good quality caulking gun provides smooth, consistent application.
- Silicone Sealant: Choose the appropriate type for your project.
- Utility Knife: For cutting the silicone tube nozzle.
- Caulk Removal Tool: If you’re replacing old caulk, this tool will make the job easier.
- Cleaning Supplies: A degreaser or cleaner to remove dirt, grease, and old sealant.
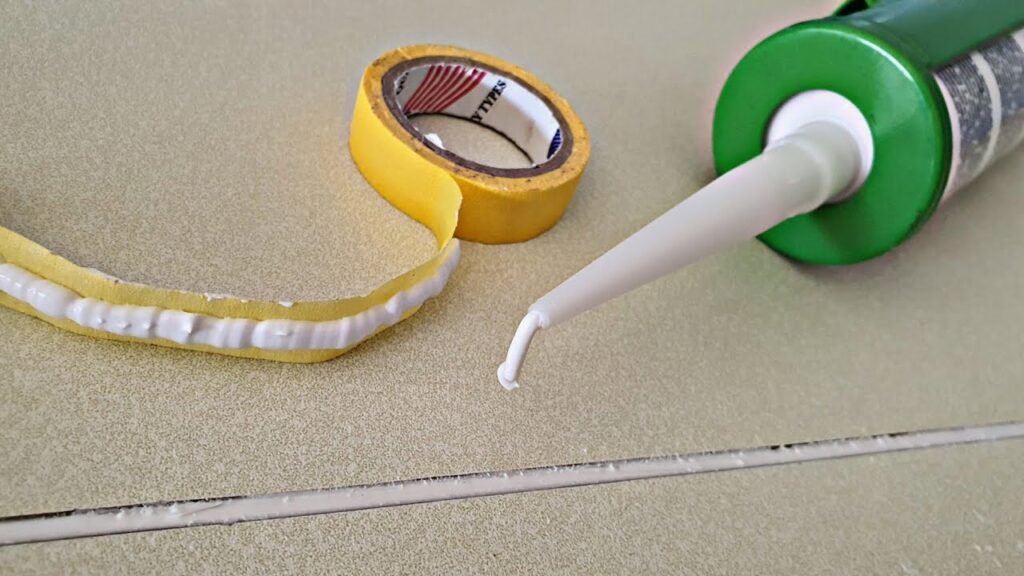
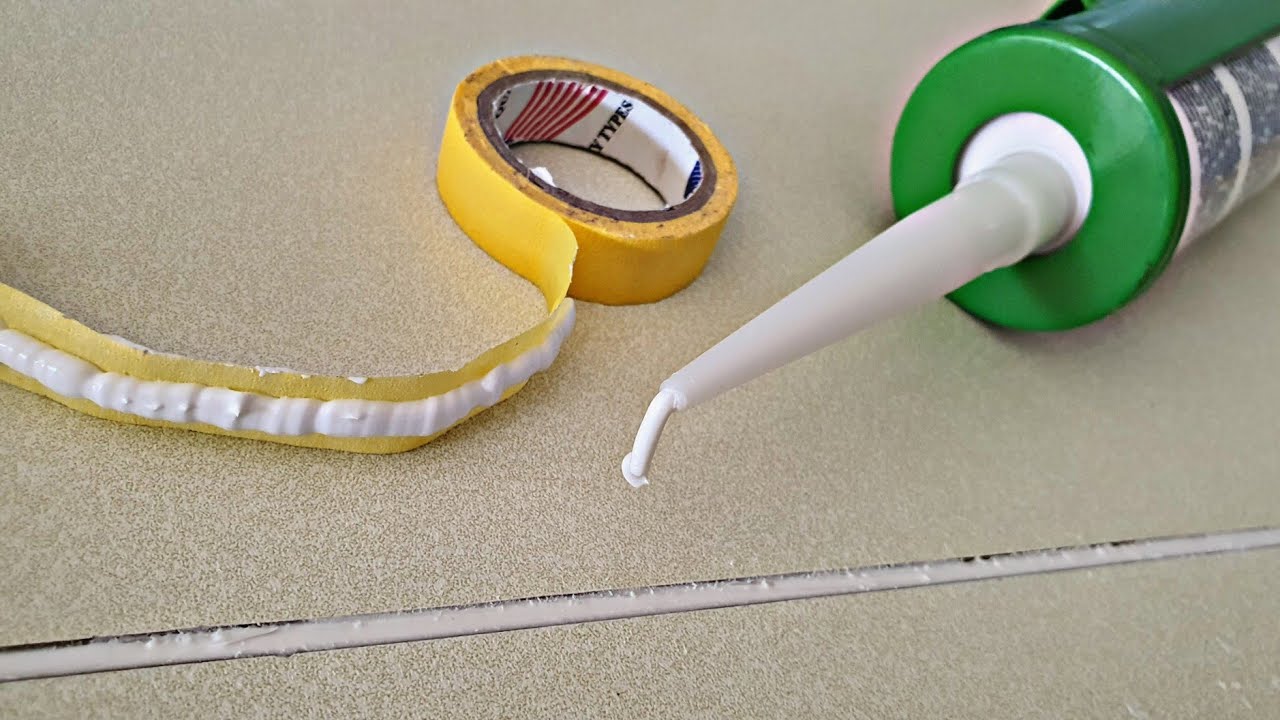
- Masking Tape: To create clean, straight lines.
- Smoothing Tool: A caulk smoothing tool or even a gloved finger can help achieve a professional finish.
- Rags or Paper Towels: For cleaning up excess sealant.
Proper surface preparation is just as important as the tools. Clean the area thoroughly to remove any dirt, grease, mold, or old sealant. Dry the surface completely before applying the new silicone. For a professional look, apply masking tape along the edges of the area you’re sealing, leaving a gap for the silicone.
Silicone Application Tricks: The Process
Now for the core of our silicone application tricks: the application process itself. Follow these steps for optimal results:
- Cut the Nozzle: Cut the nozzle of the silicone tube at a 45-degree angle, adjusting the size of the opening based on the width of the bead you need. Start with a smaller opening; you can always make it larger.
- Load the Caulking Gun: Insert the silicone tube into the caulking gun and ensure it’s securely in place.
- Apply the Silicone: Hold the caulking gun at a consistent angle and apply steady pressure to the trigger. Move the gun smoothly along the joint, creating a continuous bead of silicone. Avoid stopping and starting, as this can create unevenness.
- Smooth the Sealant: Immediately after applying the silicone, smooth it out using a caulk smoothing tool or a gloved finger. Apply even pressure to create a concave finish. If using your finger, dip it in soapy water to prevent the silicone from sticking.
- Remove Masking Tape: Carefully remove the masking tape while the silicone is still wet. This will give you clean, crisp lines.
- Clean Up: Wipe away any excess silicone with a damp cloth or paper towel. For stubborn residue, use mineral spirits or a silicone remover.
Advanced Silicone Application Tricks
Beyond the basics, there are several advanced silicone application tricks that can further improve your results:
- Backer Rod: For large gaps, use a backer rod to fill the space before applying silicone. This provides a solid base for the sealant and prevents it from sinking too deep.
- Layering: For extra-wide gaps, apply silicone in multiple layers, allowing each layer to cure slightly before applying the next.
- Color Matching: Choose a silicone sealant that matches the color of your surrounding surfaces for a seamless look.
- Temperature Considerations: Silicone applies best in moderate temperatures. Extreme heat or cold can affect its consistency and curing time.
- Ventilation: Ensure adequate ventilation when working with silicone, especially acetoxy silicone, due to its strong odor.
Troubleshooting Common Silicone Application Problems
Even with the best silicone application tricks, problems can arise. Here are some common issues and how to address them:
- Silicone Not Adhering: Ensure the surface is clean, dry, and free of old sealant. Use a primer designed for silicone if necessary.
- Mold and Mildew Growth: Use sanitary silicone in damp environments and clean the sealant regularly.
- Cracking or Shrinking: This can be caused by using the wrong type of silicone or applying it too thinly. Apply multiple layers if needed.
- Uneven Bead: Practice your technique and use a caulking gun with smooth trigger action.
- Messy Application: Use masking tape and clean up excess sealant immediately.
Silicone Application for Specific Projects
Different projects may require specific silicone application tricks. Here are a few examples:
Bathroom Caulking
Bathrooms are prime candidates for silicone sealant due to the constant exposure to moisture. Focus on areas around bathtubs, showers, sinks, and toilets. Use sanitary silicone to prevent mold and mildew growth. Pay close attention to corners and joints, ensuring a watertight seal. [See also: Bathroom Remodeling Tips for a Modern Look]
Window Caulking
Caulking windows is essential for preventing drafts and water leaks. Use a flexible, weather-resistant silicone sealant that can withstand temperature changes. Apply the silicone carefully to both the interior and exterior of the window frame. [See also: Energy Efficient Window Installation Guide]
Kitchen Caulking
In the kitchen, silicone sealant is used around sinks, countertops, and backsplashes. Choose a sealant that is food-safe and resistant to stains and chemicals. Clean the area thoroughly before applying the silicone, and ensure a smooth, even bead. [See also: Kitchen Renovation Ideas on a Budget]
Maintaining Your Silicone Seals
Once you’ve mastered the silicone application tricks and created perfect seals, it’s important to maintain them. Clean the sealant regularly with a mild detergent and water to prevent mold and mildew growth. Inspect the seals periodically for cracks or damage, and reapply silicone as needed. With proper care, your silicone seals can last for many years.
Conclusion: The Art of Perfect Silicone Application
Mastering silicone application tricks transforms a simple task into a professional skill. By understanding the different types of sealants, using the right tools, preparing the surface properly, and practicing your technique, you can achieve flawless seals that are both durable and aesthetically pleasing. Whether you’re a DIY enthusiast or a professional contractor, these tips will help you elevate your silicone application skills and create lasting results. Remember, the key to success lies in attention to detail, patience, and a willingness to learn and adapt. So, grab your caulking gun and start practicing these silicone application tricks – your projects will thank you for it!

