
Mastering Your King Satellite Dish Setup: A Comprehensive Guide
Setting up a King satellite dish can unlock a world of entertainment possibilities, especially for those on the road or in remote locations. Whether you’re an avid RVer, a tailgating enthusiast, or simply seeking reliable TV access where traditional cable isn’t an option, understanding the intricacies of a King satellite dish setup is crucial. This comprehensive guide will walk you through the entire process, from choosing the right equipment to troubleshooting common issues. We’ll cover everything you need to know to get your King satellite dish up and running quickly and efficiently.
Understanding King Satellite Dish Options
Before diving into the King satellite dish setup process, it’s important to understand the different types of dishes available. King offers a variety of options, each designed for specific needs and applications. Common types include:
- Portable Satellite Dishes: Ideal for RVers and tailgaters, these dishes are lightweight and easy to transport. They typically require manual aiming.
- Automatic Satellite Dishes: These dishes automatically locate and lock onto satellite signals with the push of a button, making them a convenient choice for those who prefer a hassle-free experience.
- In-Motion Satellite Dishes: Designed for use while driving, these dishes continuously track the satellite signal, ensuring uninterrupted viewing pleasure.
Consider your specific needs and usage scenarios when selecting a King satellite dish. Factors such as portability, ease of use, and desired features will influence your decision.
Essential Equipment for King Satellite Dish Setup
Once you’ve chosen your King satellite dish, gather the necessary equipment for the King satellite dish setup. This typically includes:
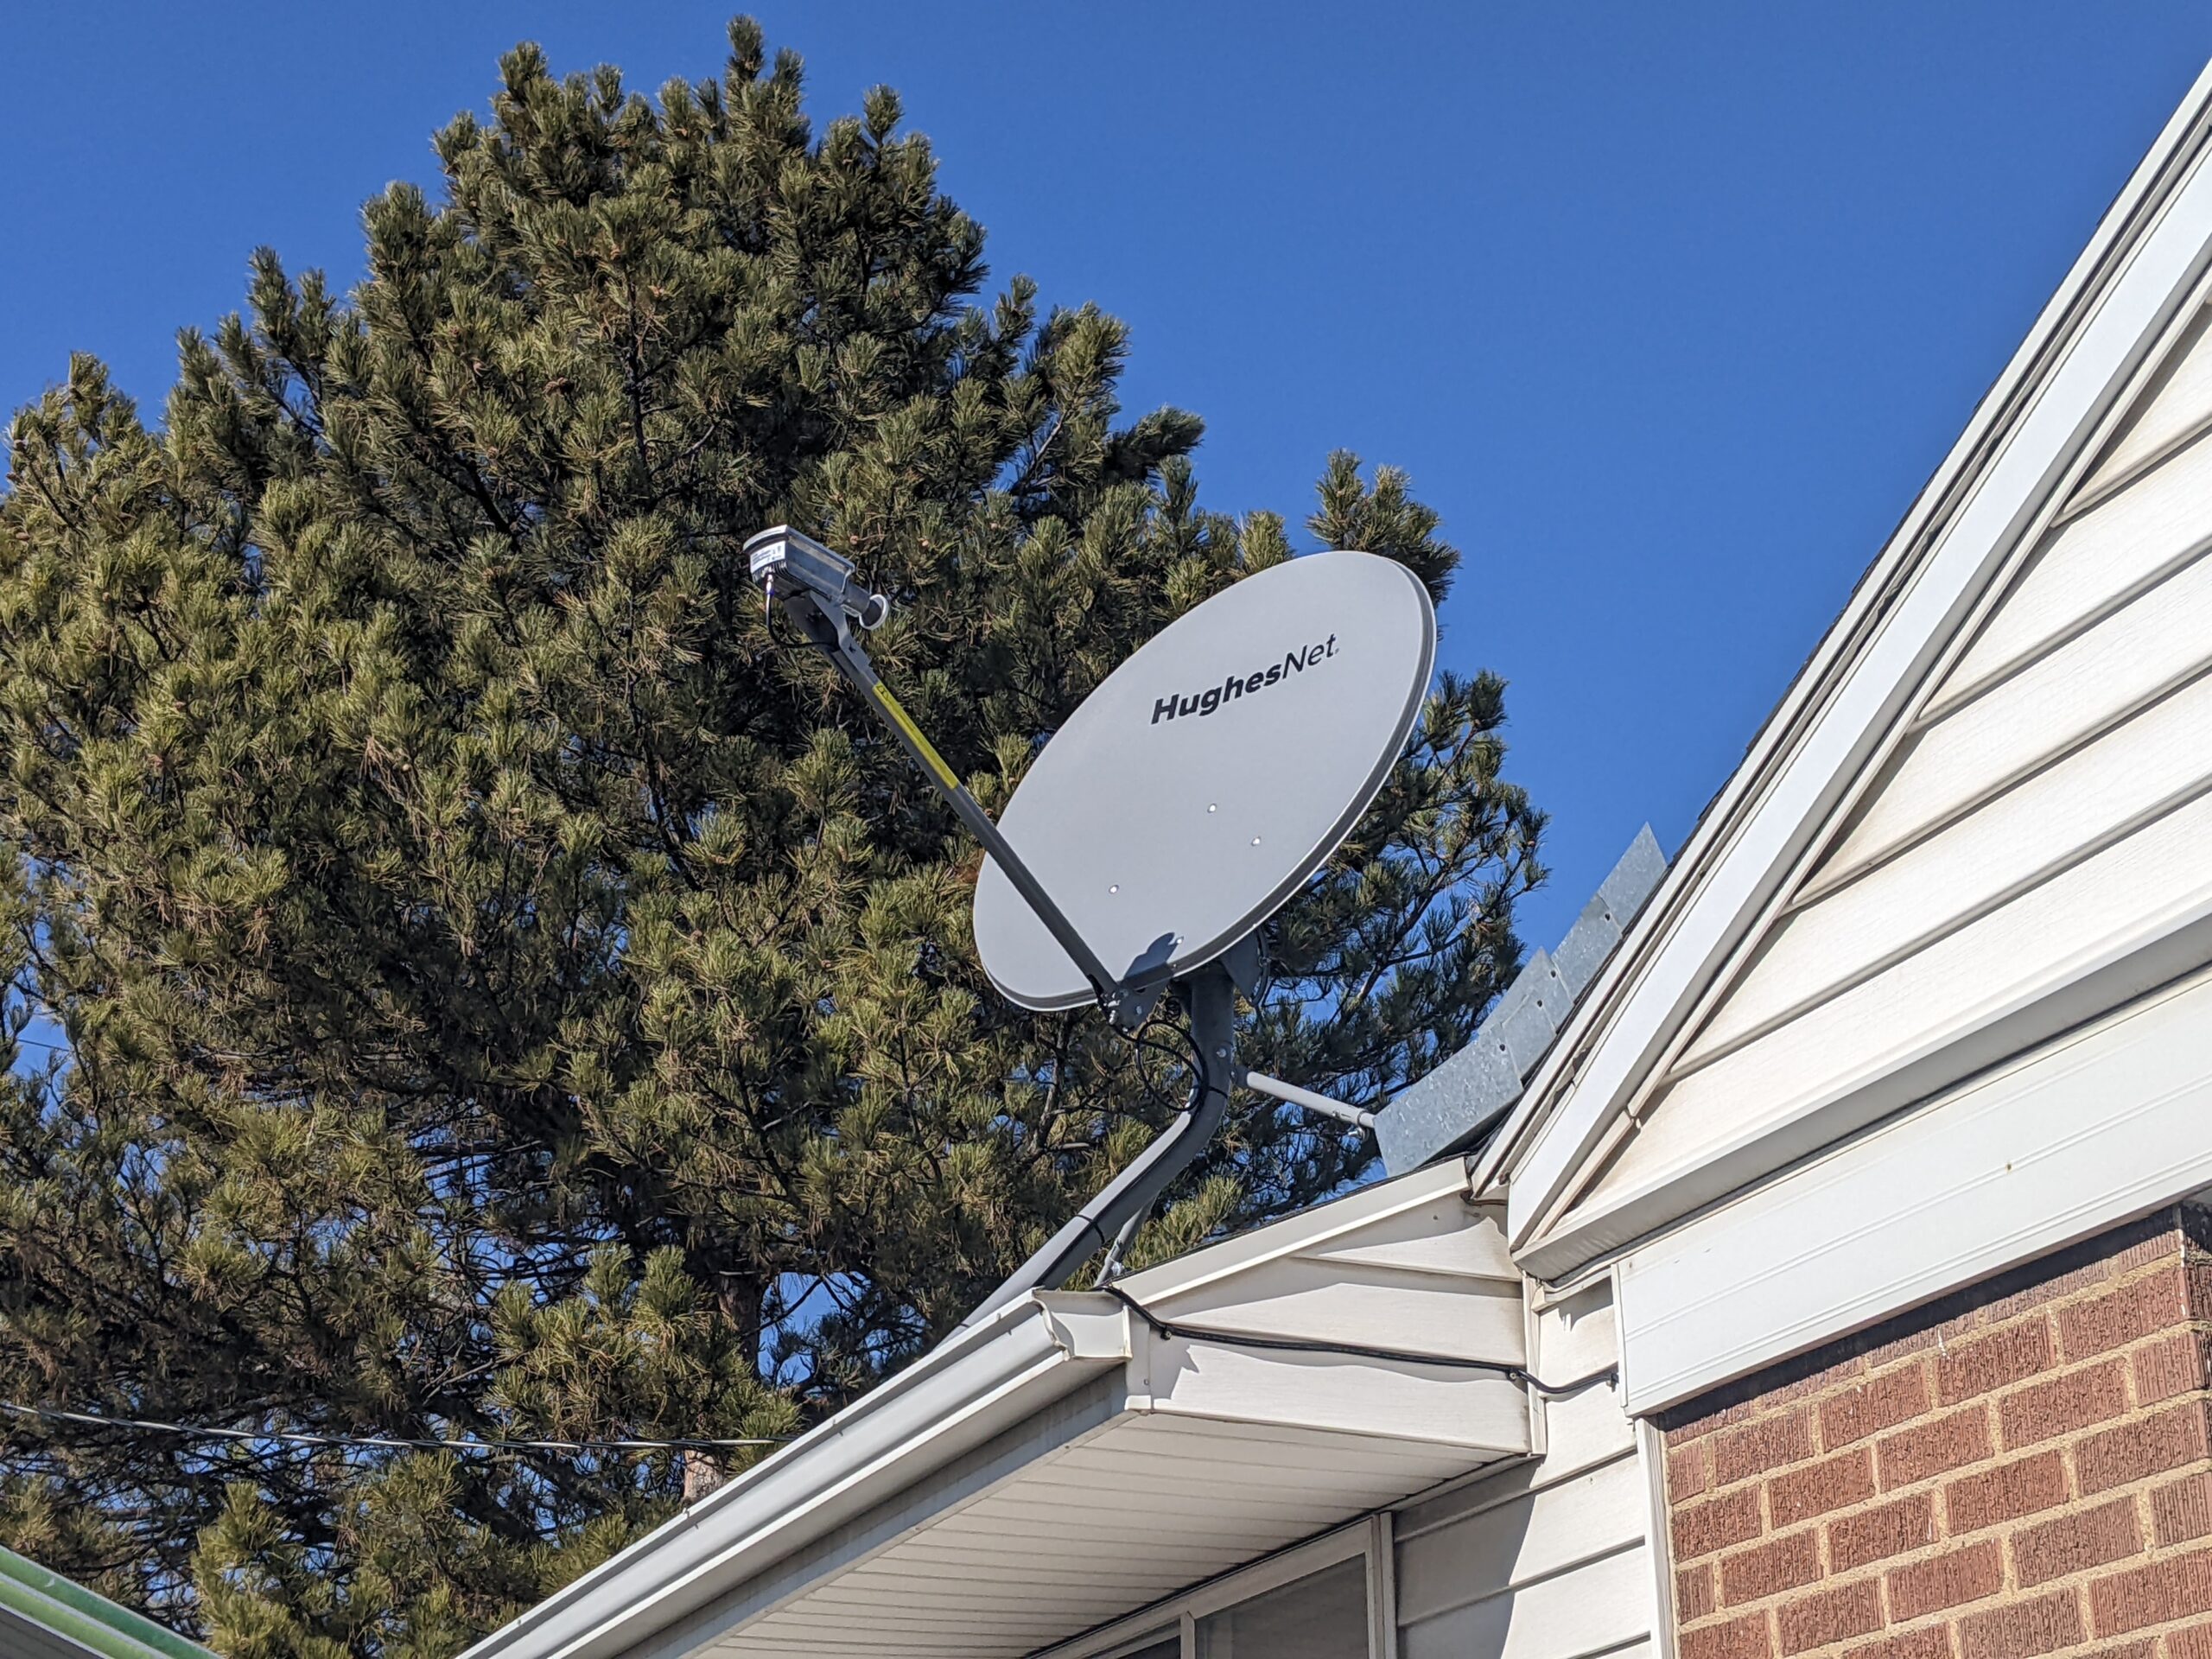
- Satellite Dish: The King satellite dish itself, along with any included mounting hardware.
- Satellite Receiver: A receiver compatible with your chosen satellite provider (e.g., DISH, DIRECTV).
- Coaxial Cable: High-quality coaxial cable to connect the dish to the receiver.
- Satellite Finder (Optional): A satellite finder can help you locate the satellite signal more easily, especially with manual dishes.
- Mounting Hardware: Depending on your installation, you may need additional mounting hardware such as tripods, roof mounts, or window mounts.
- Tools: Basic tools such as a wrench, screwdriver, and level.
Ensure you have all the necessary equipment before starting the King satellite dish setup process. Missing items can delay the installation and cause frustration.
Step-by-Step Guide to King Satellite Dish Setup
Now, let’s move on to the actual King satellite dish setup. The specific steps may vary slightly depending on the type of dish and your installation environment, but the general process remains the same.
Step 1: Choosing the Right Location
The first step is to choose a suitable location for your King satellite dish. The location should have a clear view of the southern sky (in the Northern Hemisphere) and be free from obstructions such as trees, buildings, or power lines. A clear line of sight is crucial for receiving a strong satellite signal. Use a satellite finder app on your smartphone to verify the signal path before committing to a location.
Step 2: Mounting the Satellite Dish
Next, mount the King satellite dish securely. If you’re using a portable dish, a tripod is a common option. For permanent installations, a roof mount or wall mount may be more appropriate. Follow the manufacturer’s instructions carefully when mounting the dish to ensure it’s stable and properly aligned. A level is essential to ensure the dish is perfectly upright.
Step 3: Connecting the Coaxial Cable
Connect the coaxial cable to the King satellite dish and the satellite receiver. Ensure the connections are tight and secure to prevent signal loss. Use high-quality coaxial cable to minimize interference and maintain a strong signal. Weatherproof connectors are recommended for outdoor installations.
Step 4: Aiming the Satellite Dish
Aiming the King satellite dish is the most critical step in the King satellite dish setup process. For manual dishes, you’ll need to adjust the elevation and azimuth (horizontal direction) until you find the satellite signal. Use a satellite finder to help you pinpoint the signal. Automatic dishes will typically handle the aiming process themselves with the push of a button. Consult your satellite provider’s website or app for the correct aiming angles for your location.
Step 5: Fine-Tuning the Signal
Once you’ve found the satellite signal, fine-tune the aiming to maximize the signal strength and quality. Small adjustments can make a big difference. Use the signal strength meter on your satellite receiver to guide your adjustments. Secure the dish in place once you’re satisfied with the signal.
Step 6: Activating Your Satellite Service
Finally, activate your satellite service with your chosen provider. You’ll need to provide them with the serial number of your satellite receiver and follow their instructions to activate your account. This typically involves calling their customer service line or using their online activation portal.
Troubleshooting Common King Satellite Dish Setup Issues
Even with careful planning and execution, you may encounter issues during the King satellite dish setup process. Here are some common problems and how to troubleshoot them:
- No Signal: This is often caused by incorrect aiming, obstructions in the signal path, or faulty coaxial cable connections. Double-check your aiming angles, ensure there are no obstructions, and verify the integrity of your coaxial cable.
- Weak Signal: A weak signal can be caused by poor aiming, low-quality coaxial cable, or interference from other electronic devices. Fine-tune your aiming, use high-quality coaxial cable, and move any potential sources of interference away from the dish.
- Intermittent Signal: This can be caused by loose connections, weather conditions, or satellite issues. Check all connections, ensure they are tight and secure, and monitor the weather. If the problem persists, contact your satellite provider.
- Receiver Not Recognizing Dish: This can be caused by incorrect receiver settings or a faulty LNB (low-noise block downconverter). Verify your receiver settings and ensure they are compatible with your King satellite dish. If the LNB is faulty, it may need to be replaced.
Refer to your King satellite dish and satellite receiver manuals for more specific troubleshooting information. If you’re unable to resolve the issue yourself, contact King customer support or a qualified satellite technician.
Tips for Optimizing Your King Satellite Dish Setup
To ensure optimal performance and longevity of your King satellite dish setup, consider these tips:
- Regular Maintenance: Clean your King satellite dish regularly to remove dirt, dust, and debris that can interfere with the signal.
- Weather Protection: Protect your dish from harsh weather conditions such as heavy rain, snow, and wind. Consider using a protective cover or relocating the dish to a more sheltered location during severe weather.
- Software Updates: Keep your satellite receiver software up to date to ensure compatibility with the latest satellite broadcasts and features.
- Professional Installation: If you’re not comfortable with the King satellite dish setup process, consider hiring a professional installer. They have the expertise and equipment to ensure a proper and reliable installation.
By following these tips, you can maximize the performance and lifespan of your King satellite dish.
Conclusion
Setting up a King satellite dish can be a rewarding experience, providing access to a wide range of entertainment options wherever you go. By understanding the different types of dishes, gathering the necessary equipment, and following the step-by-step instructions outlined in this guide, you can successfully complete the King satellite dish setup process. Remember to troubleshoot common issues, optimize your setup, and enjoy the benefits of reliable satellite TV access. A properly configured King satellite dish will provide years of entertainment. [See also: Understanding Satellite Signal Strength] and [See also: Choosing the Right Satellite Receiver]
