Revitalize Your Ride: The Ultimate Guide to Carburetor Cleaner for Honda Lawn Mowers
A sputtering engine, rough idling, or complete failure to start – these are the telltale signs of a dirty carburetor in your Honda lawn mower. The carburetor is a critical component responsible for mixing air and fuel in the correct ratio, ensuring smooth engine operation. Over time, varnish, gum, and carbon deposits can build up, restricting fuel flow and hindering performance. That’s where a good carburetor cleaner comes in. This comprehensive guide will walk you through everything you need to know about using carburetor cleaner on your Honda lawn mower, from choosing the right product to the step-by-step cleaning process.
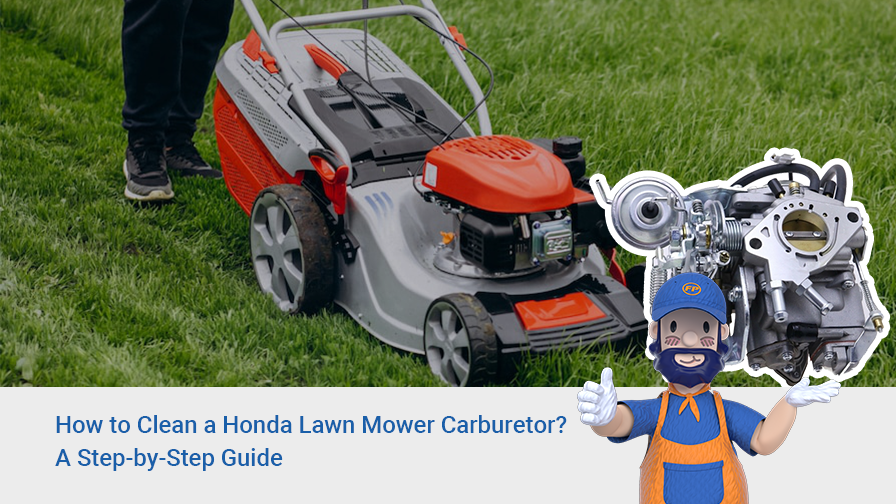
Why Clean Your Honda Lawn Mower’s Carburetor?
The carburetor is the heart of your Honda lawn mower‘s engine. Its primary function is to regulate the mixture of air and fuel that enters the combustion chamber. When the carburetor becomes clogged with deposits, it disrupts this delicate balance, leading to a host of problems:
- Difficulty Starting: A clogged carburetor can prevent the engine from getting enough fuel to start, especially after it has been sitting idle for a while.
- Rough Idling: If the carburetor is partially blocked, the engine may idle roughly or stall frequently.
- Loss of Power: Reduced fuel flow can result in a noticeable decrease in power, making it harder to cut through thick grass.
- Poor Fuel Economy: A dirty carburetor can cause the engine to run inefficiently, wasting fuel.
- Engine Damage: In severe cases, a severely clogged carburetor can lead to engine overheating and damage.
Regular carburetor cleaner maintenance is essential to prevent these issues and keep your Honda lawn mower running smoothly. [See also: Common Lawn Mower Problems and Solutions]
Choosing the Right Carburetor Cleaner
Not all carburetor cleaners are created equal. When selecting a product for your Honda lawn mower, consider the following factors:
- Type of Cleaner: Carburetor cleaners come in various forms, including sprays, dips, and fuel additives. Sprays are ideal for quick cleaning of accessible parts, while dips are more suitable for thoroughly cleaning disassembled carburetors. Fuel additives can help prevent future buildup but are less effective for removing existing deposits.
- Compatibility: Ensure the cleaner is compatible with your Honda lawn mower‘s engine components, particularly rubber and plastic parts. Some cleaners can damage these materials. Read the product label carefully and check for any warnings or restrictions.
- Ingredients: Look for cleaners that contain powerful solvents like acetone, toluene, and xylene, which are effective at dissolving varnish and gum. However, be aware that these chemicals can be harmful, so use them in a well-ventilated area and wear appropriate protective gear.
- Reviews and Ratings: Before purchasing a carburetor cleaner, check online reviews and ratings to see what other users have to say about its effectiveness and safety.
Popular brands of carburetor cleaner include CRC, Gumout, and Berryman. Always follow the manufacturer’s instructions when using any carburetor cleaner.
Tools and Materials You’ll Need
Before you begin cleaning your Honda lawn mower‘s carburetor, gather the necessary tools and materials:
- Carburetor Cleaner: Choose a high-quality cleaner specifically designed for carburetors.
- Screwdrivers: You’ll need a variety of screwdrivers (Phillips head and flathead) to remove and disassemble the carburetor.
- Wrench Set: A wrench set will be necessary for loosening and tightening bolts.
- Pliers: Pliers are useful for gripping and manipulating small parts.
- Safety Glasses: Protect your eyes from splashes and debris.
- Gloves: Wear chemical-resistant gloves to protect your skin from the cleaner.
- Parts Tray: A parts tray will help you keep track of small parts and prevent them from getting lost.
- Compressed Air: Compressed air is useful for blowing out debris and drying parts.
- Clean Rags: Have plenty of clean rags on hand for wiping up spills and cleaning parts.
- Carburetor Diagram: A diagram of your carburetor can be helpful for reassembly. You can usually find one online or in your owner’s manual.
Step-by-Step Guide to Cleaning Your Honda Lawn Mower Carburetor
There are two main methods for cleaning a Honda lawn mower carburetor: cleaning it while it’s still attached to the engine and removing it for a more thorough cleaning. We’ll cover both methods below.
Method 1: Cleaning the Carburetor Without Removal
This method is suitable for minor clogs and regular maintenance.
- Safety First: Disconnect the spark plug wire to prevent accidental starting.
- Locate the Carburetor: The carburetor is typically located between the air filter and the engine block.
- Spray the Carburetor: With the engine off, spray carburetor cleaner liberally into the carburetor’s throat (the opening where air enters).
- Let it Soak: Allow the cleaner to soak for 10-15 minutes to dissolve deposits.
- Start the Engine: Reconnect the spark plug wire and start the engine.
- Run the Engine: Let the engine run for a few minutes to burn off any remaining cleaner and deposits. You may notice some smoke or sputtering initially.
- Repeat if Necessary: If the engine still runs rough, repeat the process.
Method 2: Cleaning the Carburetor After Removal
This method is more involved but provides a more thorough cleaning.
- Safety First: Disconnect the spark plug wire and drain the fuel tank.
- Remove the Air Filter: Remove the air filter housing to access the carburetor.
- Disconnect Fuel Lines and Linkages: Carefully disconnect the fuel lines and any linkages connected to the carburetor. Take pictures or make notes of how everything is connected to ensure proper reassembly.
- Remove the Carburetor: Unbolt the carburetor from the engine.
- Disassemble the Carburetor: Disassemble the carburetor carefully, noting the location of each part. Refer to your carburetor diagram if needed.
- Clean the Parts: Spray each part with carburetor cleaner and use a small brush to remove stubborn deposits. Pay close attention to the jets and orifices.
- Soak the Parts (Optional): For heavily soiled carburetors, soak the parts in a carburetor cleaner dip for several hours or overnight.
- Rinse and Dry: Rinse the parts with clean water and dry them thoroughly with compressed air.
- Reassemble the Carburetor: Reassemble the carburetor, referring to your diagram or notes. Replace any worn or damaged parts.
- Reinstall the Carburetor: Reinstall the carburetor onto the engine and reconnect the fuel lines and linkages.
- Reinstall the Air Filter: Reinstall the air filter housing.
- Start the Engine: Reconnect the spark plug wire and start the engine.
- Adjust the Carburetor: Adjust the carburetor settings as needed to ensure smooth engine operation. Refer to your owner’s manual for instructions.
Tips for Preventing Carburetor Problems
Here are some tips to help prevent carburetor problems in your Honda lawn mower:
- Use Fresh Fuel: Use fresh, high-quality gasoline. Avoid using old or stale fuel, as it can contain varnish and gum that can clog the carburetor.
- Add Fuel Stabilizer: If you’re storing your lawn mower for an extended period, add fuel stabilizer to the fuel tank to prevent fuel degradation.
- Run the Engine Regularly: Run the engine for a few minutes every few weeks to keep the fuel flowing and prevent deposits from forming.
- Clean the Air Filter: A dirty air filter can restrict airflow to the carburetor, causing it to run rich and create more deposits. Clean the air filter regularly.
- Use Carburetor Cleaner Regularly: As a preventative measure, use a fuel additive carburetor cleaner periodically to help keep the carburetor clean.
Troubleshooting Common Carburetor Issues
Even with regular maintenance, carburetor problems can still occur. Here are some common issues and how to troubleshoot them:
- Engine Won’t Start: Check the fuel supply, spark plug, and air filter. If these are all in good condition, the carburetor may be clogged.
- Rough Idling: Try adjusting the idle speed screw on the carburetor. If that doesn’t work, the carburetor may need to be cleaned.
- Engine Stalls Frequently: This could be due to a clogged carburetor, a faulty fuel pump, or a loose fuel line.
- Loss of Power: A clogged carburetor can restrict fuel flow, leading to a loss of power.
If you’re unable to resolve the issue yourself, consult a qualified mechanic. [See also: Lawn Mower Maintenance Schedule]
Conclusion
Cleaning your Honda lawn mower‘s carburetor is a relatively simple task that can significantly improve its performance and prolong its lifespan. By following the steps outlined in this guide and taking preventative measures, you can keep your lawn mower running smoothly for years to come. Remember to always prioritize safety and use the appropriate tools and materials. With a little effort, you can keep your Honda lawn mower in top condition and enjoy a well-manicured lawn all season long. Using carburetor cleaner effectively is key to maintaining your machine. The carburetor cleaner helps dissolve the build-up, ensuring proper fuel flow. Consider this guide your go-to resource for carburetor cleaner use on your Honda lawn mower. Regular use of carburetor cleaner as a preventative measure is also recommended. Always remember safety when using carburetor cleaner. Proper carburetor cleaner application ensures optimal engine performance. The right carburetor cleaner can make a significant difference. A clean carburetor, thanks to carburetor cleaner, is a happy carburetor! Using a carburetor cleaner is a cost-effective maintenance strategy. Don’t underestimate the power of carburetor cleaner in maintaining your Honda lawn mower.
