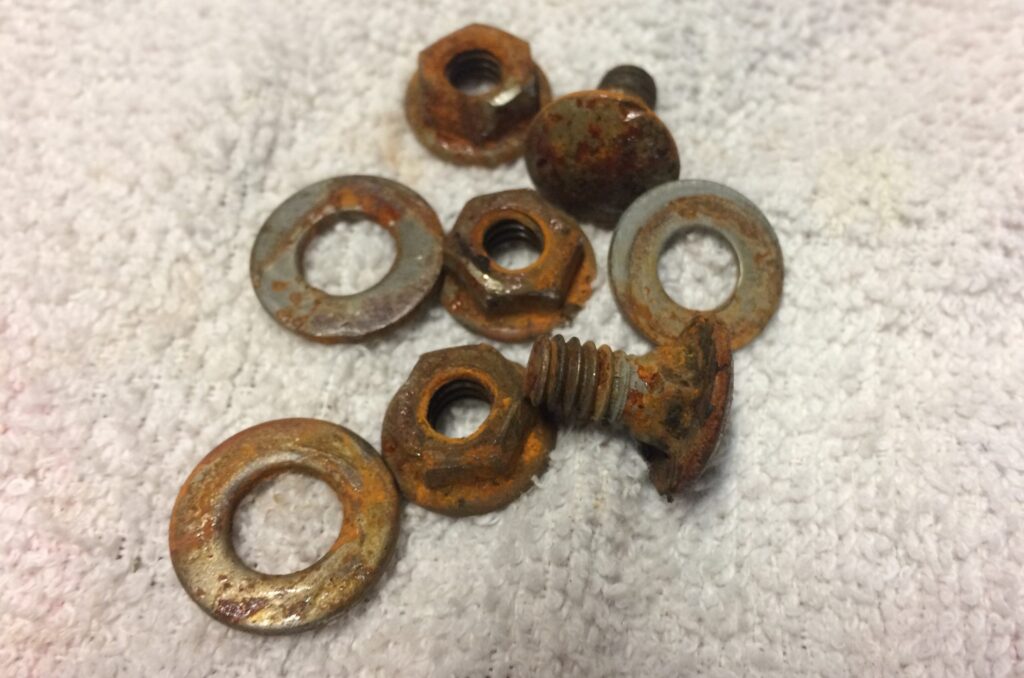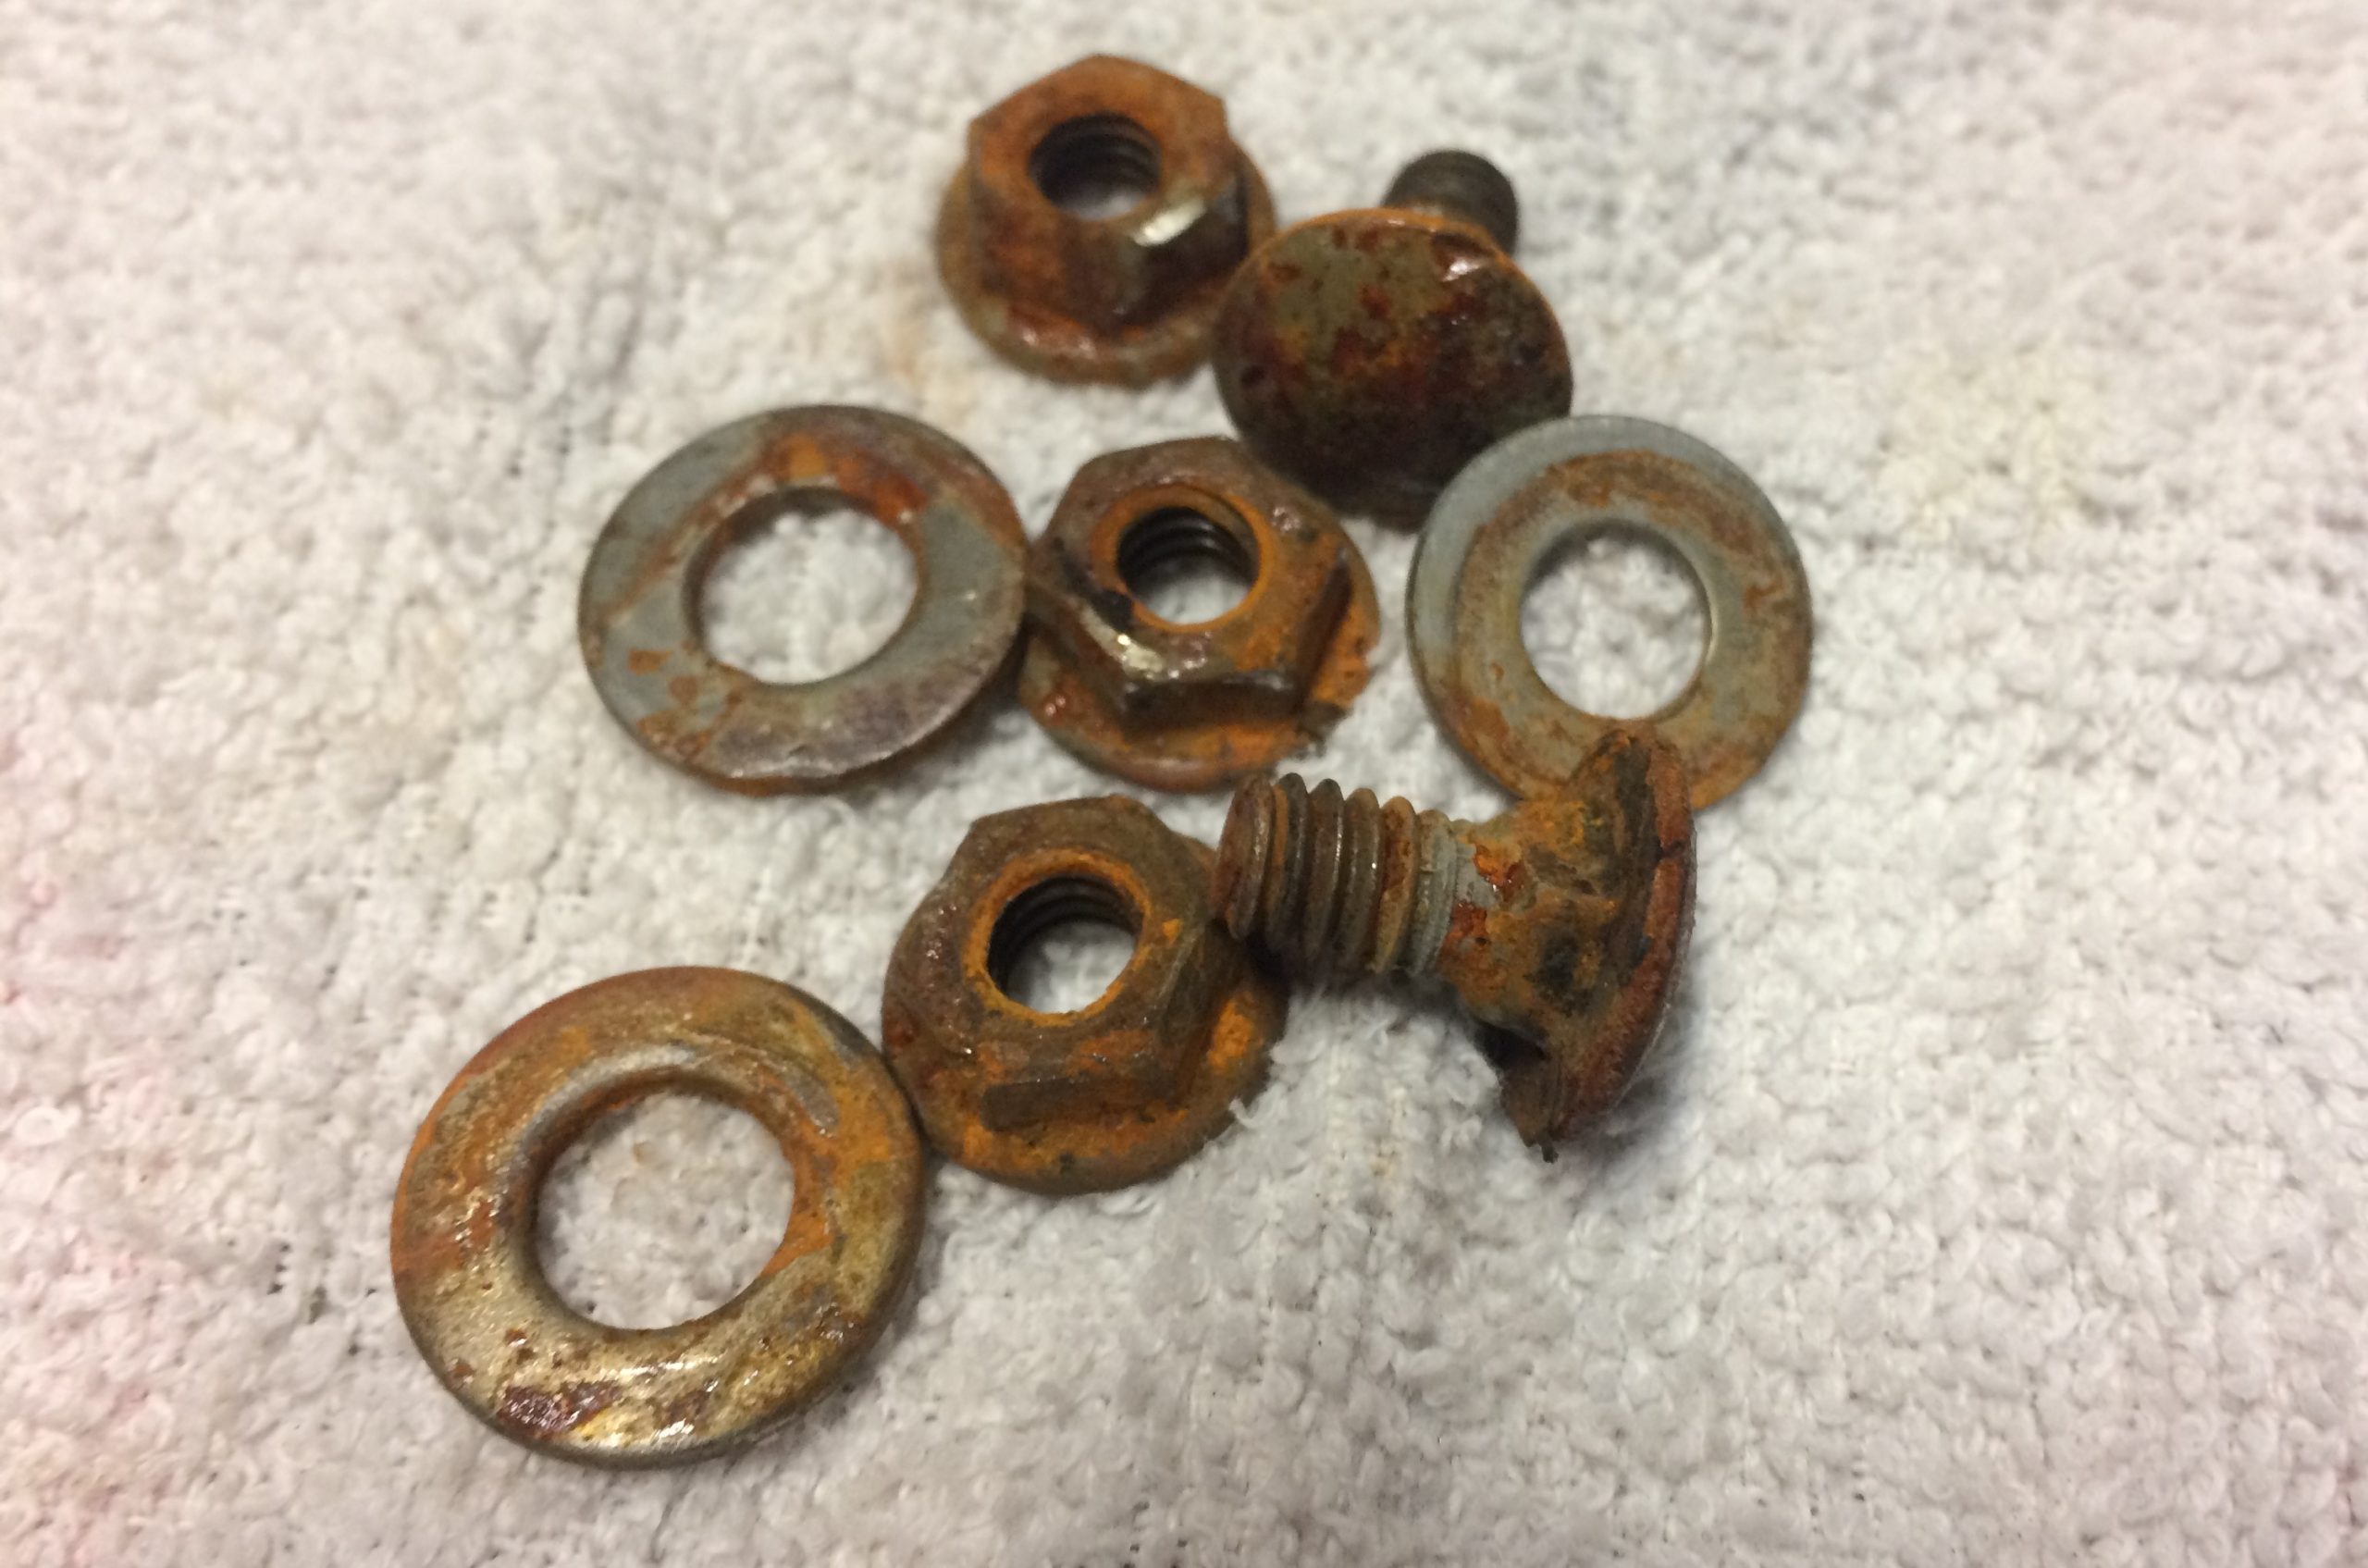
Rusted Screws: Causes, Prevention, and Removal Techniques
Rusted screws are a common nuisance, whether you’re tackling a home improvement project, repairing your car, or working on any task involving metal fasteners. Dealing with rusted screws can be incredibly frustrating, often leading to stripped heads, broken tools, and wasted time. Understanding the causes of rust, implementing preventative measures, and knowing effective removal techniques are essential for any DIY enthusiast, professional tradesperson, or homeowner. This article delves into the science behind rust formation, explores various strategies to prevent rusted screws, and provides a comprehensive guide to removing them safely and efficiently.
Understanding the Science of Rust
Rust, scientifically known as iron oxide, is the result of a chemical reaction called oxidation. This process occurs when iron or an iron alloy, such as steel, is exposed to oxygen and moisture. The iron atoms react with oxygen to form iron oxide, which is the reddish-brown flaky substance we recognize as rust. The presence of water acts as an electrolyte, accelerating the oxidation process. Saltwater, in particular, significantly increases the rate of rust formation due to the high concentration of ions.
Several factors contribute to the likelihood and speed of rust formation on screws. These include:
- Exposure to Moisture: Humidity, rain, snow, and even condensation can provide the necessary moisture for rust to form.
- Salt Exposure: Coastal environments and the use of de-icing salts on roads can expose screws to high levels of salt, accelerating corrosion.
- Environmental Pollutants: Acid rain and industrial pollutants can also contribute to the corrosion process.
- Galvanic Corrosion: When dissimilar metals are in contact in the presence of an electrolyte, a galvanic reaction can occur, leading to accelerated corrosion of the less noble metal.
- Lack of Protective Coating: Screws without protective coatings, such as zinc plating or powder coating, are more susceptible to rust.
Preventing Rust on Screws: Proactive Measures
Prevention is always better than cure, and this holds true for rusted screws. Implementing preventative measures can save you time, money, and frustration in the long run. Here are several strategies to prevent rust formation:
Choosing the Right Materials
Selecting screws made from corrosion-resistant materials is the first line of defense. Options include:
- Stainless Steel: Stainless steel contains chromium, which forms a passive layer of chromium oxide on the surface, protecting the underlying steel from corrosion. Different grades of stainless steel offer varying levels of corrosion resistance.
- Brass: Brass is an alloy of copper and zinc, known for its excellent corrosion resistance and aesthetic appeal.
- Aluminum: Aluminum forms a protective oxide layer that prevents further corrosion. However, aluminum screws may not be as strong as steel screws.
Applying Protective Coatings
If using steel screws, consider those with protective coatings. Common coatings include:
- Zinc Plating: Zinc plating provides a sacrificial barrier, corroding before the underlying steel.
- Galvanization: A thicker zinc coating applied through a hot-dipping process, offering superior corrosion resistance.
- Powder Coating: A durable, decorative coating that provides excellent protection against corrosion.
- Ceramic Coating: A thin, hard coating that provides exceptional corrosion resistance and wear resistance.
Proper Storage
Storing screws in a dry, airtight container can significantly reduce the risk of rust formation. Consider using desiccant packs to absorb any moisture in the container. Avoid storing screws in damp or humid environments.
Applying Lubricants and Sealants
Applying a thin layer of lubricant, such as WD-40 or silicone grease, can help protect screws from moisture and corrosion. Sealants can also be used to create a barrier between the screw and the surrounding environment, preventing water from entering the joint.
Regular Maintenance
Regularly inspect screws, especially in outdoor applications, for signs of rust. If rust is detected early, it can often be removed with a wire brush or abrasive pad before it causes significant damage. Reapply protective coatings or lubricants as needed.
Removing Rusted Screws: A Step-by-Step Guide
Despite your best efforts, screws can still become rusted. When faced with a rusted screw, it’s crucial to use the right techniques to avoid stripping the head or breaking the screw. Here’s a comprehensive guide to removing rusted screws:
Preparation is Key
Before attempting to remove a rusted screw, gather the necessary tools and materials. These may include:
- Penetrating Oil (e.g., WD-40, Liquid Wrench)
- Screwdriver with a properly fitting head
- Hammer
- Heat Gun or Hair Dryer
- Rubber Bands or Steel Wool
- Screw Extractor Kit
- Pliers or Vice Grips
Applying Penetrating Oil
Penetrating oil is your best friend when dealing with rusted screws. Apply a generous amount of penetrating oil to the rusted screw and allow it to soak for at least 15-30 minutes, or even longer for severely rusted screws. The oil will seep into the threads, loosening the rust and making it easier to remove the screw.
Using Heat
Applying heat to the rusted screw can help expand the metal, breaking the bond between the screw and the surrounding material. Use a heat gun or hair dryer to heat the screw for a few minutes. Be careful not to overheat the surrounding materials, especially if they are flammable.
Tapping the Screw Head
Gently tapping the head of the rusted screw with a hammer can help break up the rust and loosen the screw. Use a center punch to create a small indentation in the center of the screw head to prevent the hammer from slipping.
Using Rubber Bands or Steel Wool
If the screwdriver is slipping in the head of the screw, try placing a rubber band or a small piece of steel wool between the screwdriver and the screw head. This can provide extra grip and prevent stripping the head.
Using a Screw Extractor Kit
If the screw head is severely damaged or stripped, a screw extractor kit may be necessary. These kits typically include a set of drill bits and extractors that are designed to grip the screw and remove it. Follow the instructions provided with the kit carefully.
Using Pliers or Vice Grips
If enough of the screw head is exposed, you may be able to grip it with pliers or vice grips and turn it out. This method is best used as a last resort, as it can further damage the screw head.
Drilling Out the Screw
As a last resort, you can drill out the rusted screw. Use a drill bit that is slightly smaller than the diameter of the screw. Drill through the head of the screw until it separates from the shank. Then, use pliers or vice grips to remove the remaining shank.
Conclusion
Dealing with rusted screws is an inevitable part of many projects. By understanding the causes of rust, implementing preventative measures, and mastering effective removal techniques, you can minimize frustration and ensure successful outcomes. Remember to choose the right materials, apply protective coatings, store screws properly, and use the appropriate tools and techniques when removing rusted screws. With a little patience and the right approach, you can overcome even the most stubborn rusted screws. [See also: Preventing Corrosion in Metal Structures] [See also: Best Lubricants for Rust Prevention] [See also: How to Remove Stripped Screws]

