Seamlessly Transfer Your Xfinity WiFi: A Comprehensive Guide
Moving to a new home or upgrading your Xfinity service? One crucial step is understanding how to transfer Xfinity WiFi. This guide provides a detailed, step-by-step approach to ensure a smooth transition, minimizing downtime and keeping you connected. We’ll cover everything from preparing for the transfer to troubleshooting common issues.
Understanding the Xfinity WiFi Transfer Process
The Xfinity WiFi transfer process involves several key steps. First, you’ll need to confirm the availability of Xfinity services at your new address. Then, you’ll schedule the transfer, ensuring it aligns with your move-in date. Finally, you’ll set up your equipment at the new location and activate your service. Proper planning and execution are essential for a hassle-free experience.
Checking Service Availability at Your New Address
Before initiating the Xfinity WiFi transfer, verify that Xfinity services are available at your new address. You can do this through the Xfinity website or by contacting their customer service. Provide your new address to confirm service availability and any potential limitations.
Scheduling the Transfer
Once you’ve confirmed service availability, schedule the Xfinity WiFi transfer. Choose a date and time that aligns with your move-in schedule. It’s advisable to schedule the transfer a few days before you move in to allow time for setup and troubleshooting. You can schedule the transfer online through your Xfinity account or by calling customer service.
Preparing Your Equipment
Before moving, gather all your Xfinity equipment, including your modem, router, and any Xfinity TV boxes. Ensure you have all the necessary cables and power cords. It’s also a good idea to take photos of how everything is connected before disconnecting them. This will help you set up everything correctly at your new location.
Step-by-Step Guide to Transferring Your Xfinity WiFi
Follow these steps to transfer Xfinity WiFi to your new home:
- Disconnect Your Equipment: Carefully disconnect your modem, router, and any other Xfinity devices from the wall and each other. Store them in a safe place for transport.
- Transport Your Equipment: Ensure your equipment is well-protected during the move to prevent damage. Use bubble wrap or packing peanuts to cushion the devices.
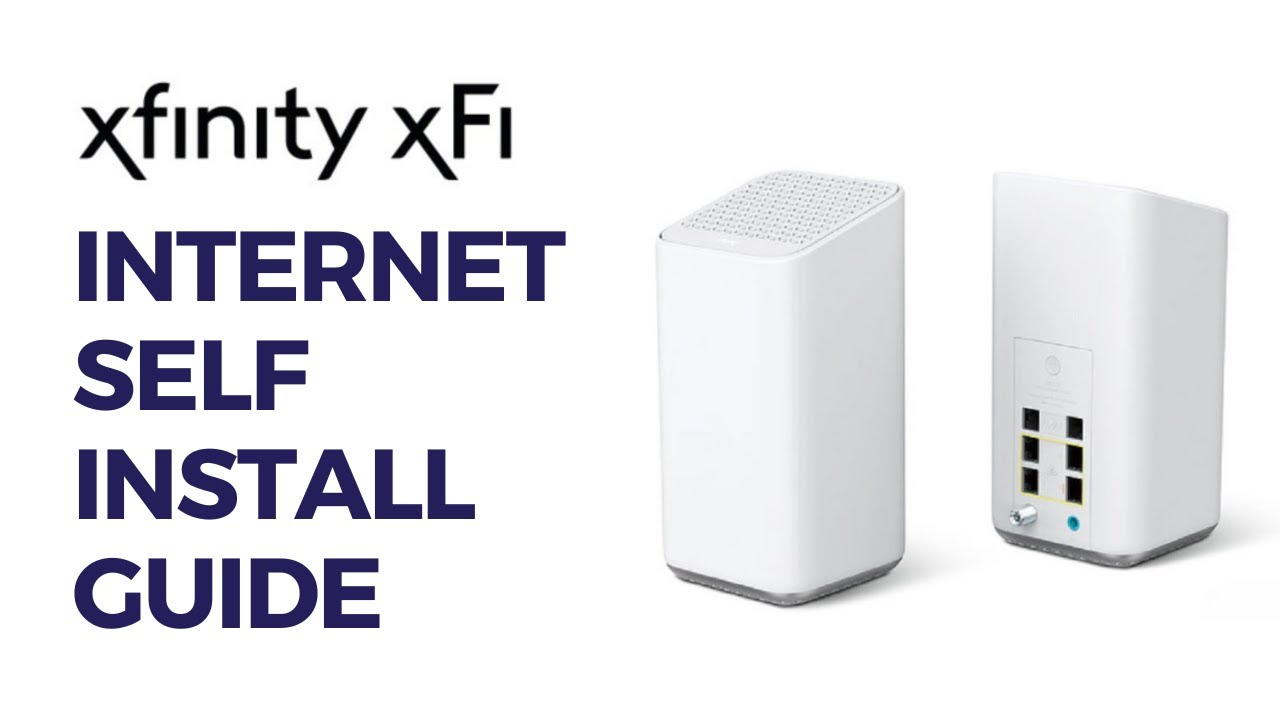
- Set Up at Your New Address: At your new address, connect your modem and router according to the instructions provided by Xfinity. Use the photos you took earlier as a reference.
- Activate Your Service: Once everything is connected, activate your Xfinity service. You can do this through the Xfinity app, the Xfinity website, or by calling customer service.
- Test Your Connection: After activation, test your WiFi connection to ensure it’s working correctly. Check the speed and stability of your internet connection.
Troubleshooting Common Xfinity WiFi Transfer Issues
Even with careful planning, you may encounter issues during the Xfinity WiFi transfer process. Here are some common problems and how to troubleshoot them:
No Internet Connection
If you have no internet connection after setting up your equipment, check the following:
- Cable Connections: Ensure all cables are securely connected to your modem, router, and wall outlets.
- Power: Verify that your modem and router are powered on and that the power cords are properly plugged in.
- Activation Status: Confirm that your Xfinity service has been activated. You can check your activation status through the Xfinity app or website.
- Modem and Router Lights: Check the lights on your modem and router. Refer to the manufacturer’s documentation to understand what the different light patterns indicate.
If you’ve checked all of these and still have no internet connection, contact Xfinity customer service for assistance. There may be an issue with your account or the service in your area.
Slow Internet Speed
If your internet speed is slower than expected after the transfer, try these troubleshooting steps:
- Restart Your Equipment: Restart your modem and router by unplugging them from the power outlet for 30 seconds, then plugging them back in.
- Check Your WiFi Signal: Ensure you’re within range of your WiFi router. Walls and other obstructions can weaken the signal.
- Run a Speed Test: Use an online speed test tool to check your internet speed. Compare the results to the speed you’re paying for.
- Optimize Your WiFi Network: Change your WiFi channel to avoid interference from other devices. You can use a WiFi analyzer app to find the best channel.
If your internet speed is consistently slow, contact Xfinity customer service to investigate the issue. There may be a problem with your equipment or the service in your area.
WiFi Network Name and Password
When you transfer Xfinity WiFi, you have the option to keep your existing WiFi network name (SSID) and password or create new ones. Keeping the same network name and password can simplify the transition, as you won’t need to reconnect all your devices. However, for security reasons, it’s often recommended to create a new, strong password.
Tips for a Smooth Xfinity WiFi Transfer
Here are some additional tips to ensure a smooth Xfinity WiFi transfer:
- Plan Ahead: Start the transfer process well in advance of your move to avoid last-minute stress.
- Keep Records: Keep records of your Xfinity account information, including your account number and password.
- Contact Xfinity: Don’t hesitate to contact Xfinity customer service if you have any questions or concerns.
- Check Equipment Compatibility: If you’re using your own modem and router, ensure they are compatible with Xfinity’s service.
- Update Firmware: Keep your modem and router firmware up to date to ensure optimal performance and security.
Alternatives to Transferring Xfinity WiFi
While transferring Xfinity WiFi is the most straightforward option for existing customers, there are alternative solutions to consider:
- New Xfinity Account: You can create a new Xfinity account at your new address instead of transferring your existing service. This may be a good option if you’re looking for a new plan or want to take advantage of promotional offers.
- Different Internet Provider: Explore other internet providers in your area to see if they offer better deals or services. Compare prices, speeds, and customer reviews before making a decision.
- Mobile Hotspot: If you only need internet access temporarily, you can use a mobile hotspot from your smartphone or a dedicated mobile hotspot device.
Conclusion
Transferring Xfinity WiFi can be a seamless process with careful planning and execution. By following the steps outlined in this guide, you can minimize downtime and ensure a smooth transition to your new home. Remember to check service availability, schedule the transfer in advance, and troubleshoot any issues that may arise. With the right approach, you can stay connected and enjoy your Xfinity service at your new location. Understanding how to transfer Xfinity WiFi is essential for a stress-free move. Don’t forget to document all your equipment connections before disconnecting, and always have your Xfinity account information readily available. If you encounter any difficulties, Xfinity customer service is there to assist you.
The key to a successful Xfinity WiFi transfer is preparation. Ensure you have all the necessary equipment and information, and don’t hesitate to seek help from Xfinity if needed. By taking these steps, you can ensure that your internet service is up and running smoothly in your new home. A smooth Xfinity WiFi transfer means less stress and more time to enjoy your new surroundings. Remember, a little planning goes a long way. The process of transfer Xfinity WiFi is designed to be user-friendly, but it’s always good to be prepared for any potential challenges. Making sure that your Xfinity WiFi transfer goes smoothly will make moving into a new place so much easier. When you transfer Xfinity WiFi, you’re not just moving your internet service; you’re bringing a vital connection to your new home. Proper execution of your Xfinity WiFi transfer will help you avoid frustration and stay connected. Understanding the process to transfer Xfinity WiFi is crucial for a seamless transition. When you transfer Xfinity WiFi, you are setting up a new chapter of connectivity in your life. Don’t underestimate the importance of a well-planned Xfinity WiFi transfer.
[See also: How to Troubleshoot Xfinity Internet Issues]
[See also: Xfinity Internet Plans: A Comprehensive Overview]
[See also: Setting up Xfinity Voice]

