
The Ultimate Guide to Remove Bumper Scuffs: A Comprehensive DIY Approach
Bumper scuffs are an unfortunate reality for many car owners. Whether it’s a minor scrape from a parking lot mishap or a more noticeable blemish from a close encounter with a bush, these unsightly marks can detract from your vehicle’s appearance and potentially lower its resale value. The good news is that many bumper scuffs can be removed at home with the right tools, materials, and a bit of patience. This comprehensive guide will walk you through the process of how to remove bumper scuffs effectively, saving you a trip to the body shop and keeping your car looking its best.
Understanding Bumper Scuffs
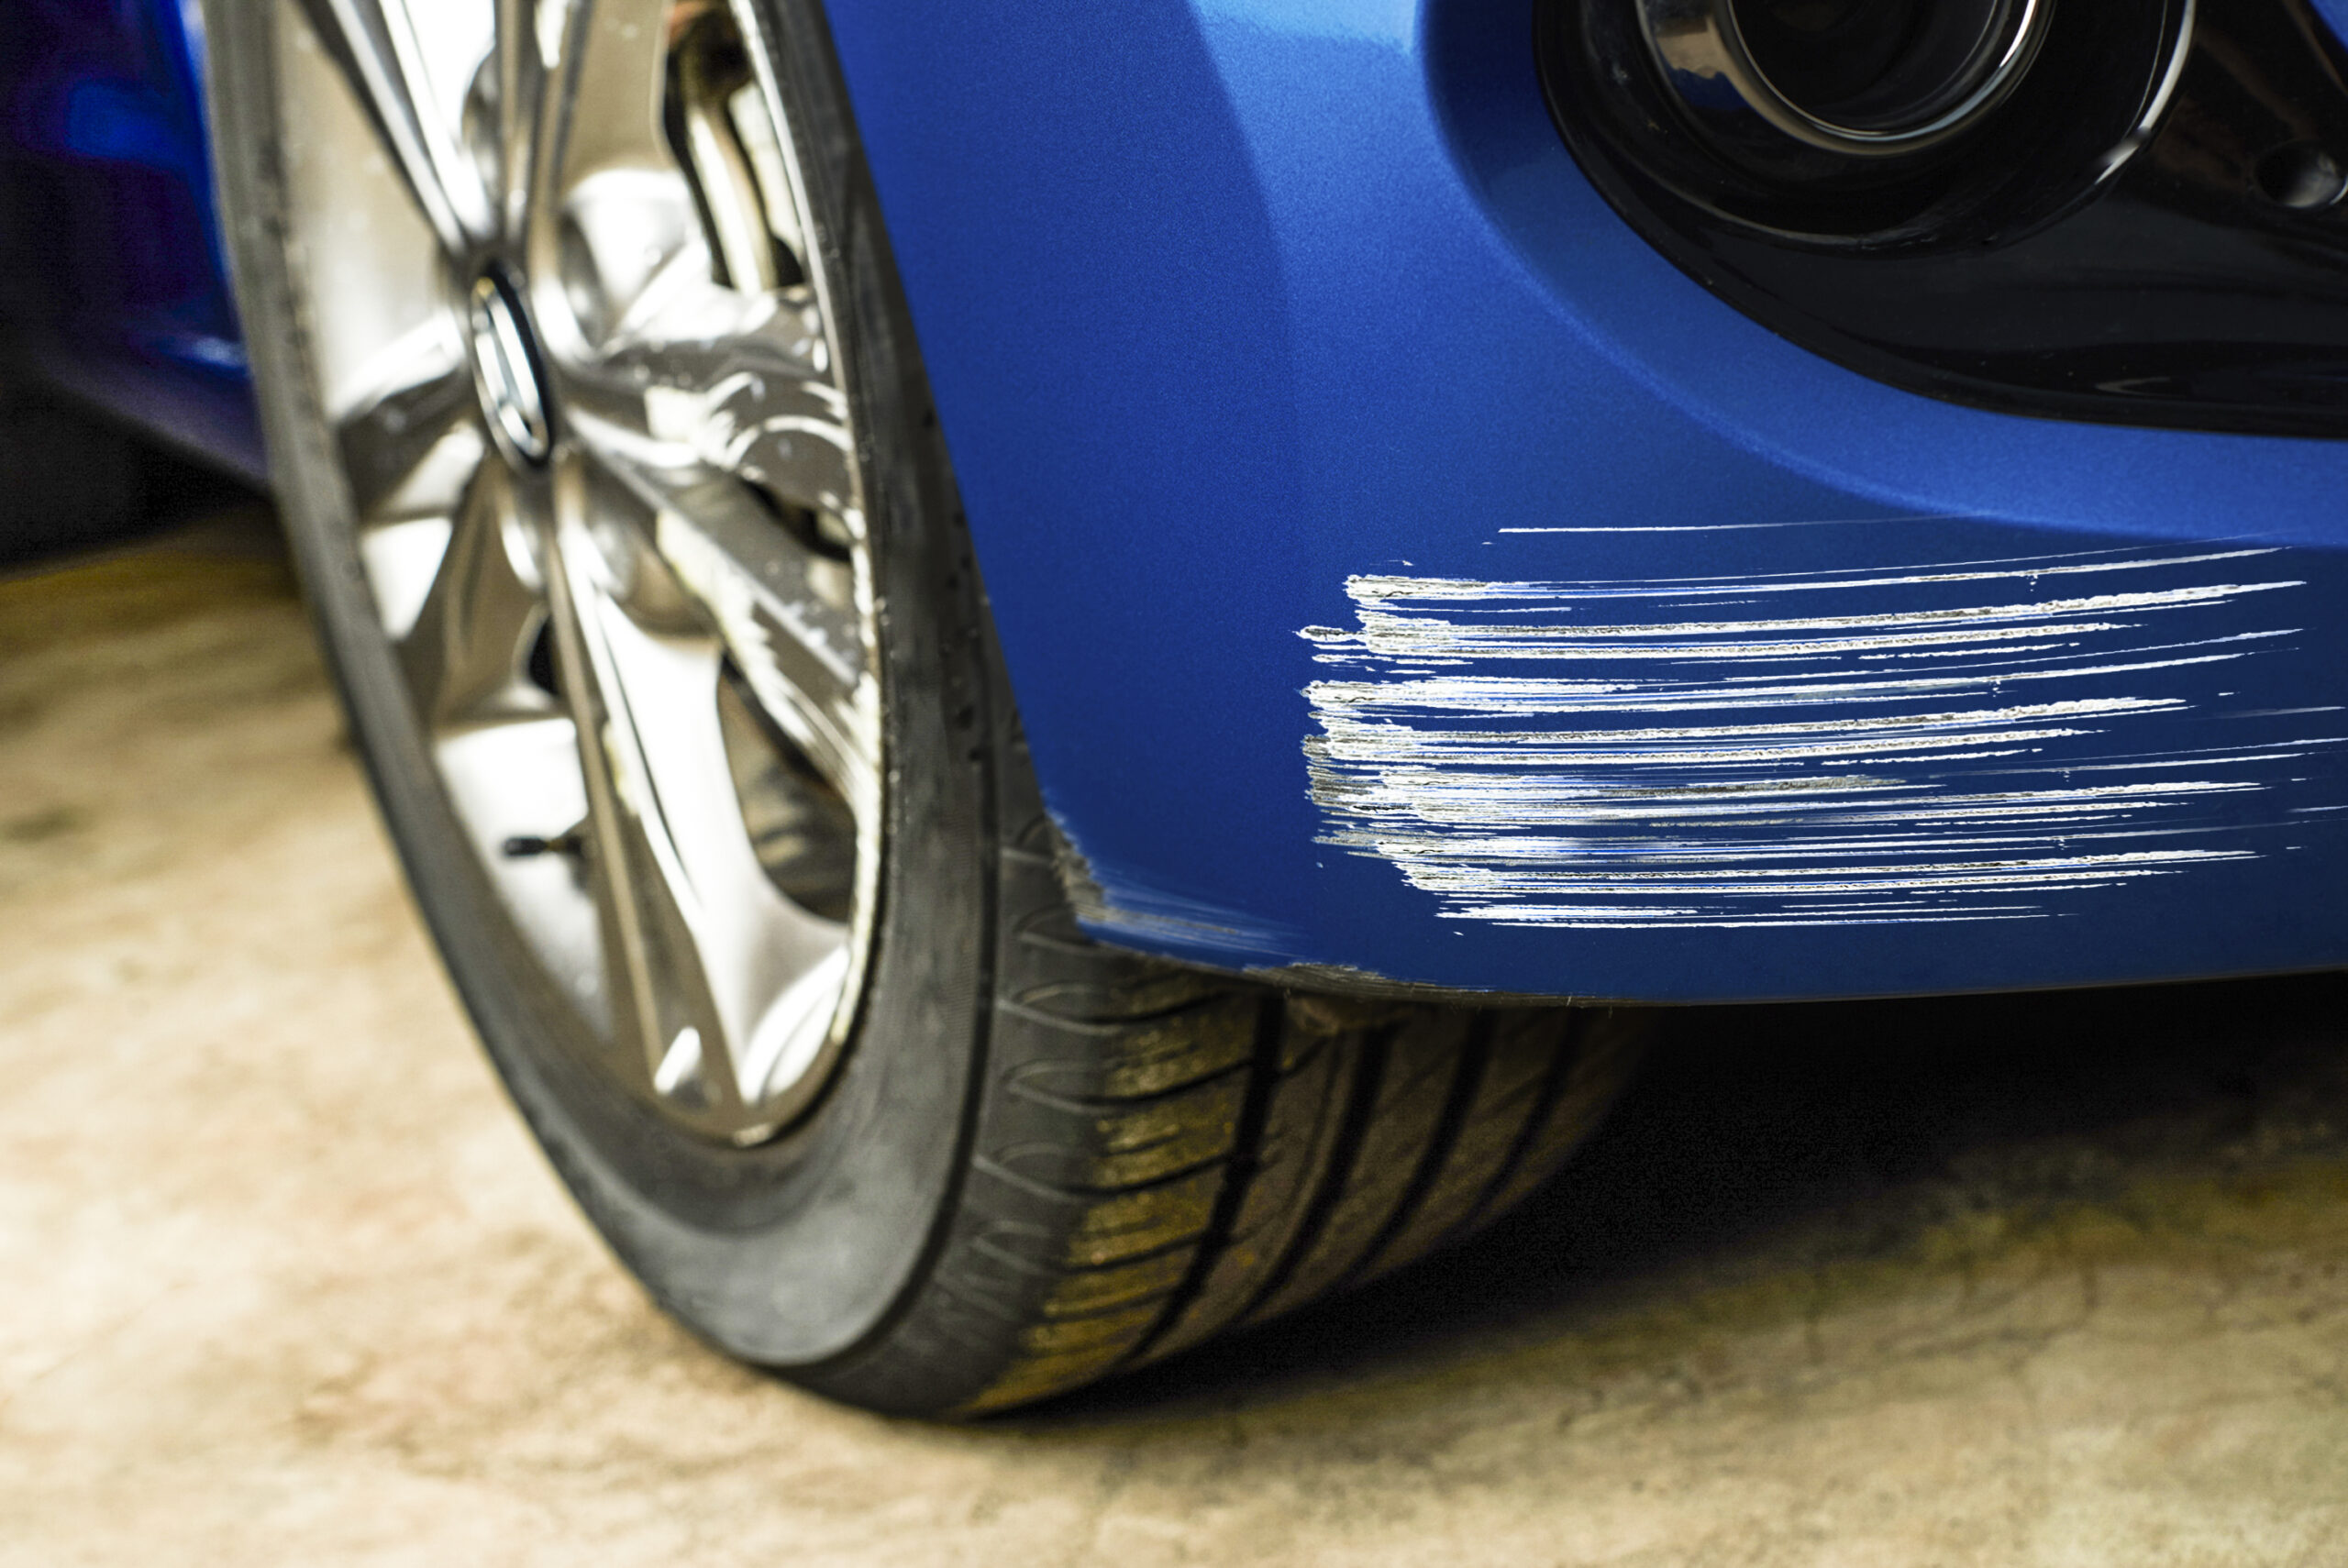
Before diving into the remove bumper scuffs process, it’s crucial to understand what you’re dealing with. Bumper scuffs typically involve scratches, scrapes, and paint transfer on the bumper’s surface. These imperfections can range from superficial marks that only affect the clear coat to deeper gouges that penetrate the paint and even the plastic bumper material itself. Identifying the severity of the scuff is the first step in determining the best course of action for its removal. A minor scuff might only require a simple polishing compound, while a more significant scratch could necessitate sanding, filling, and repainting.
Types of Bumper Scuffs
- Clear Coat Scratches: These are the most superficial type of scuff, affecting only the clear protective layer on top of the paint. They often appear as light swirls or hazy marks.
- Paint Scratches: These scratches penetrate the clear coat and reach the paint layer. They’re typically more visible and require more aggressive methods to remove.
- Plastic Scratches: These are the deepest type of scuff, affecting the plastic bumper material itself. They often require filling and sanding to restore a smooth surface.
- Paint Transfer: This occurs when paint from another vehicle or object is transferred onto your bumper. It often appears as a colored smudge or streak.
Tools and Materials Needed to Remove Bumper Scuffs
Having the right tools and materials on hand is essential for a successful remove bumper scuffs project. Here’s a comprehensive list of what you’ll need:
- Cleaning Supplies: Car wash soap, microfiber towels, detailing spray.
- Sandpaper: Various grits (e.g., 400, 800, 1000, 2000 grit) for sanding down imperfections.
- Sanding Block: Provides a flat, even surface for sanding.
- Rubbing Compound: A coarse compound for removing deeper scratches.
- Polishing Compound: A finer compound for refining the finish and removing swirl marks.
- Wax or Sealant: To protect the repaired area and enhance the shine.
- Applicator Pads: For applying rubbing compound, polishing compound, and wax.
- Microfiber Towels: For buffing and wiping away residue.
- Masking Tape: To protect surrounding areas from sanding and polishing.
- Primer (Optional): For filling deeper scratches before painting.
- Touch-Up Paint (Optional): Matching your car’s color for repainting damaged areas.
- Clear Coat (Optional): To protect the touch-up paint.
- Heat Gun or Hair Dryer (Optional): To help soften plastic before attempting to reshape it.
Step-by-Step Guide to Remove Bumper Scuffs
Follow these steps carefully to effectively remove bumper scuffs and restore your bumper’s appearance:
Step 1: Cleaning the Area
Thoroughly clean the affected area with car wash soap and water to remove any dirt, grime, or debris. Rinse well and dry with a microfiber towel. This will allow you to clearly assess the extent of the damage and prevent any further scratches during the repair process.
Step 2: Assessing the Damage
Carefully examine the scuff to determine its severity. If it’s a minor clear coat scratch or paint transfer, you might be able to remove it with just rubbing compound and polishing compound. Deeper scratches that penetrate the paint or plastic will require more extensive repairs.
Step 3: Sanding the Scuff (If Necessary)
If the scuff is deep, you’ll need to sand it down to create a smooth surface. Start with a coarser grit sandpaper (e.g., 400 grit) to remove the bulk of the scratch. Wet-sand the area, keeping the sandpaper and bumper surface lubricated with water. Use a sanding block to ensure even pressure and prevent creating uneven surfaces. Gradually move to finer grit sandpaper (e.g., 800, 1000, 2000 grit) to refine the finish and remove any sanding marks. Remember to clean the area between each grit to remove any loose particles.
Step 4: Applying Rubbing Compound
Apply a small amount of rubbing compound to an applicator pad and work it into the sanded area using circular motions. Apply moderate pressure and continue rubbing until the scratches are significantly reduced or eliminated. Wipe away any excess compound with a clean microfiber towel.
Step 5: Applying Polishing Compound
After using rubbing compound, apply a small amount of polishing compound to a clean applicator pad and work it into the area using circular motions. Polishing compound will remove any swirl marks left by the rubbing compound and restore the shine to the paint. Wipe away any excess compound with a clean microfiber towel.
Step 6: Applying Touch-Up Paint (If Necessary)
If the scuff penetrated the paint layer, you’ll need to apply touch-up paint to restore the color. Clean the area with a wax and grease remover to ensure proper adhesion. Apply thin, even coats of touch-up paint, allowing each coat to dry completely before applying the next. Use a fine-tipped brush or toothpick for precise application. After the touch-up paint has dried, you may need to lightly sand it with very fine grit sandpaper (e.g., 2000 grit) to blend it with the surrounding paint. Follow with clear coat application to protect the paint.
Step 7: Applying Wax or Sealant
Once you’ve removed bumper scuffs and restored the finish, protect the repaired area with a coat of wax or sealant. This will help to prevent future scratches and maintain the shine. Apply the wax or sealant according to the manufacturer’s instructions and buff with a clean microfiber towel.
Tips for Preventing Bumper Scuffs
Prevention is always better than cure. Here are some tips to help prevent bumper scuffs:
- Park Carefully: Be mindful of your surroundings when parking and avoid getting too close to other vehicles or objects.
- Use Parking Sensors: If your vehicle has parking sensors, use them to help you navigate tight spaces.
- Install Bumper Guards: Consider installing bumper guards or protectors to provide an extra layer of protection.
- Be Aware of Low Obstacles: Watch out for low-lying obstacles such as curbs, parking blocks, and bushes.
When to Seek Professional Help to Remove Bumper Scuffs
While many bumper scuffs can be removed at home, there are situations where it’s best to seek professional help. If the damage is extensive, involving deep scratches, dents, or structural damage to the bumper, it’s best to consult with a qualified auto body repair technician. They have the expertise and equipment to properly repair the damage and restore your bumper to its original condition. Additionally, if you’re not comfortable with any of the steps involved in the remove bumper scuffs process, it’s always better to err on the side of caution and seek professional assistance.
Conclusion
Removing bumper scuffs is a manageable task for most car owners, saving money and maintaining vehicle aesthetics. Understanding the type of scuff, gathering the right tools, and following these steps carefully will help you remove bumper scuffs effectively. Remember to take your time, be patient, and don’t be afraid to seek professional help if needed. By following these tips, you can keep your bumper looking its best and maintain the overall value of your vehicle.
With the right approach, you can successfully remove bumper scuffs and keep your car looking its best. Remember to always prioritize safety and take your time to achieve the best possible results. Happy detailing!
Mastering the art of how to remove bumper scuffs can significantly improve your vehicle’s appearance and resale value. This comprehensive guide provides the knowledge and steps necessary to tackle minor to moderate scuffs effectively. Now you’re equipped to keep your bumper looking pristine, ensuring your car always makes a great impression. Don’t let those unsightly marks diminish your car’s appeal – take action and remove bumper scuffs today!
[See also: Car Detailing Tips and Tricks]
[See also: How to Repair a Cracked Bumper]
[See also: Best Car Waxes for Scratch Removal]
